
The following guide will illustrate the installation of our M-LOK panel on a wooden AK handguard. Please note that this is not a definitive guide for installation on all AK handguards as different handguard types may require different mounting hardware.
Step 1 - Prep
We use a Harbor Freight Mini Milling Machine to mill our M-LOK pocket into the wood.
Bits Required:
Establish the area where you want to mount your M-LOK panel by placing the panel on the handguard and tracing around it with a pencil. Shown here, we're mounting the panel so the M-LOK slots will line up with the handguard vent cuts.
Step 2 - Alignment
Clamp the handguard into the vice on your milling machine, using some some scrap wood to prevent damage.
Establish that the handguard is level. Keep in mind that some handguards taper towards the front.
Use the 1/2" router bit to align with your traced outline. Once aligned lock your Y axis in place (you won't be touching this again).
Step 3 - Milling Panel Slot
Begin milling the slot with the 1/2" router bit. Going slowly and starting with a shallow cut is recommended.
IMPORTANT: Do not mill to match your pencil line exactly or the slot will be slightly wider than the panel. Aim to mill inside your pencil line.
After the first shallow pass check to ensure that the panel fits the slot.
Finish milling the slot. The depth of the slot should be 1.5mm.
Note: using multiple shallow passes to reach the slot depth will help prevent over-milling (removing too much material).
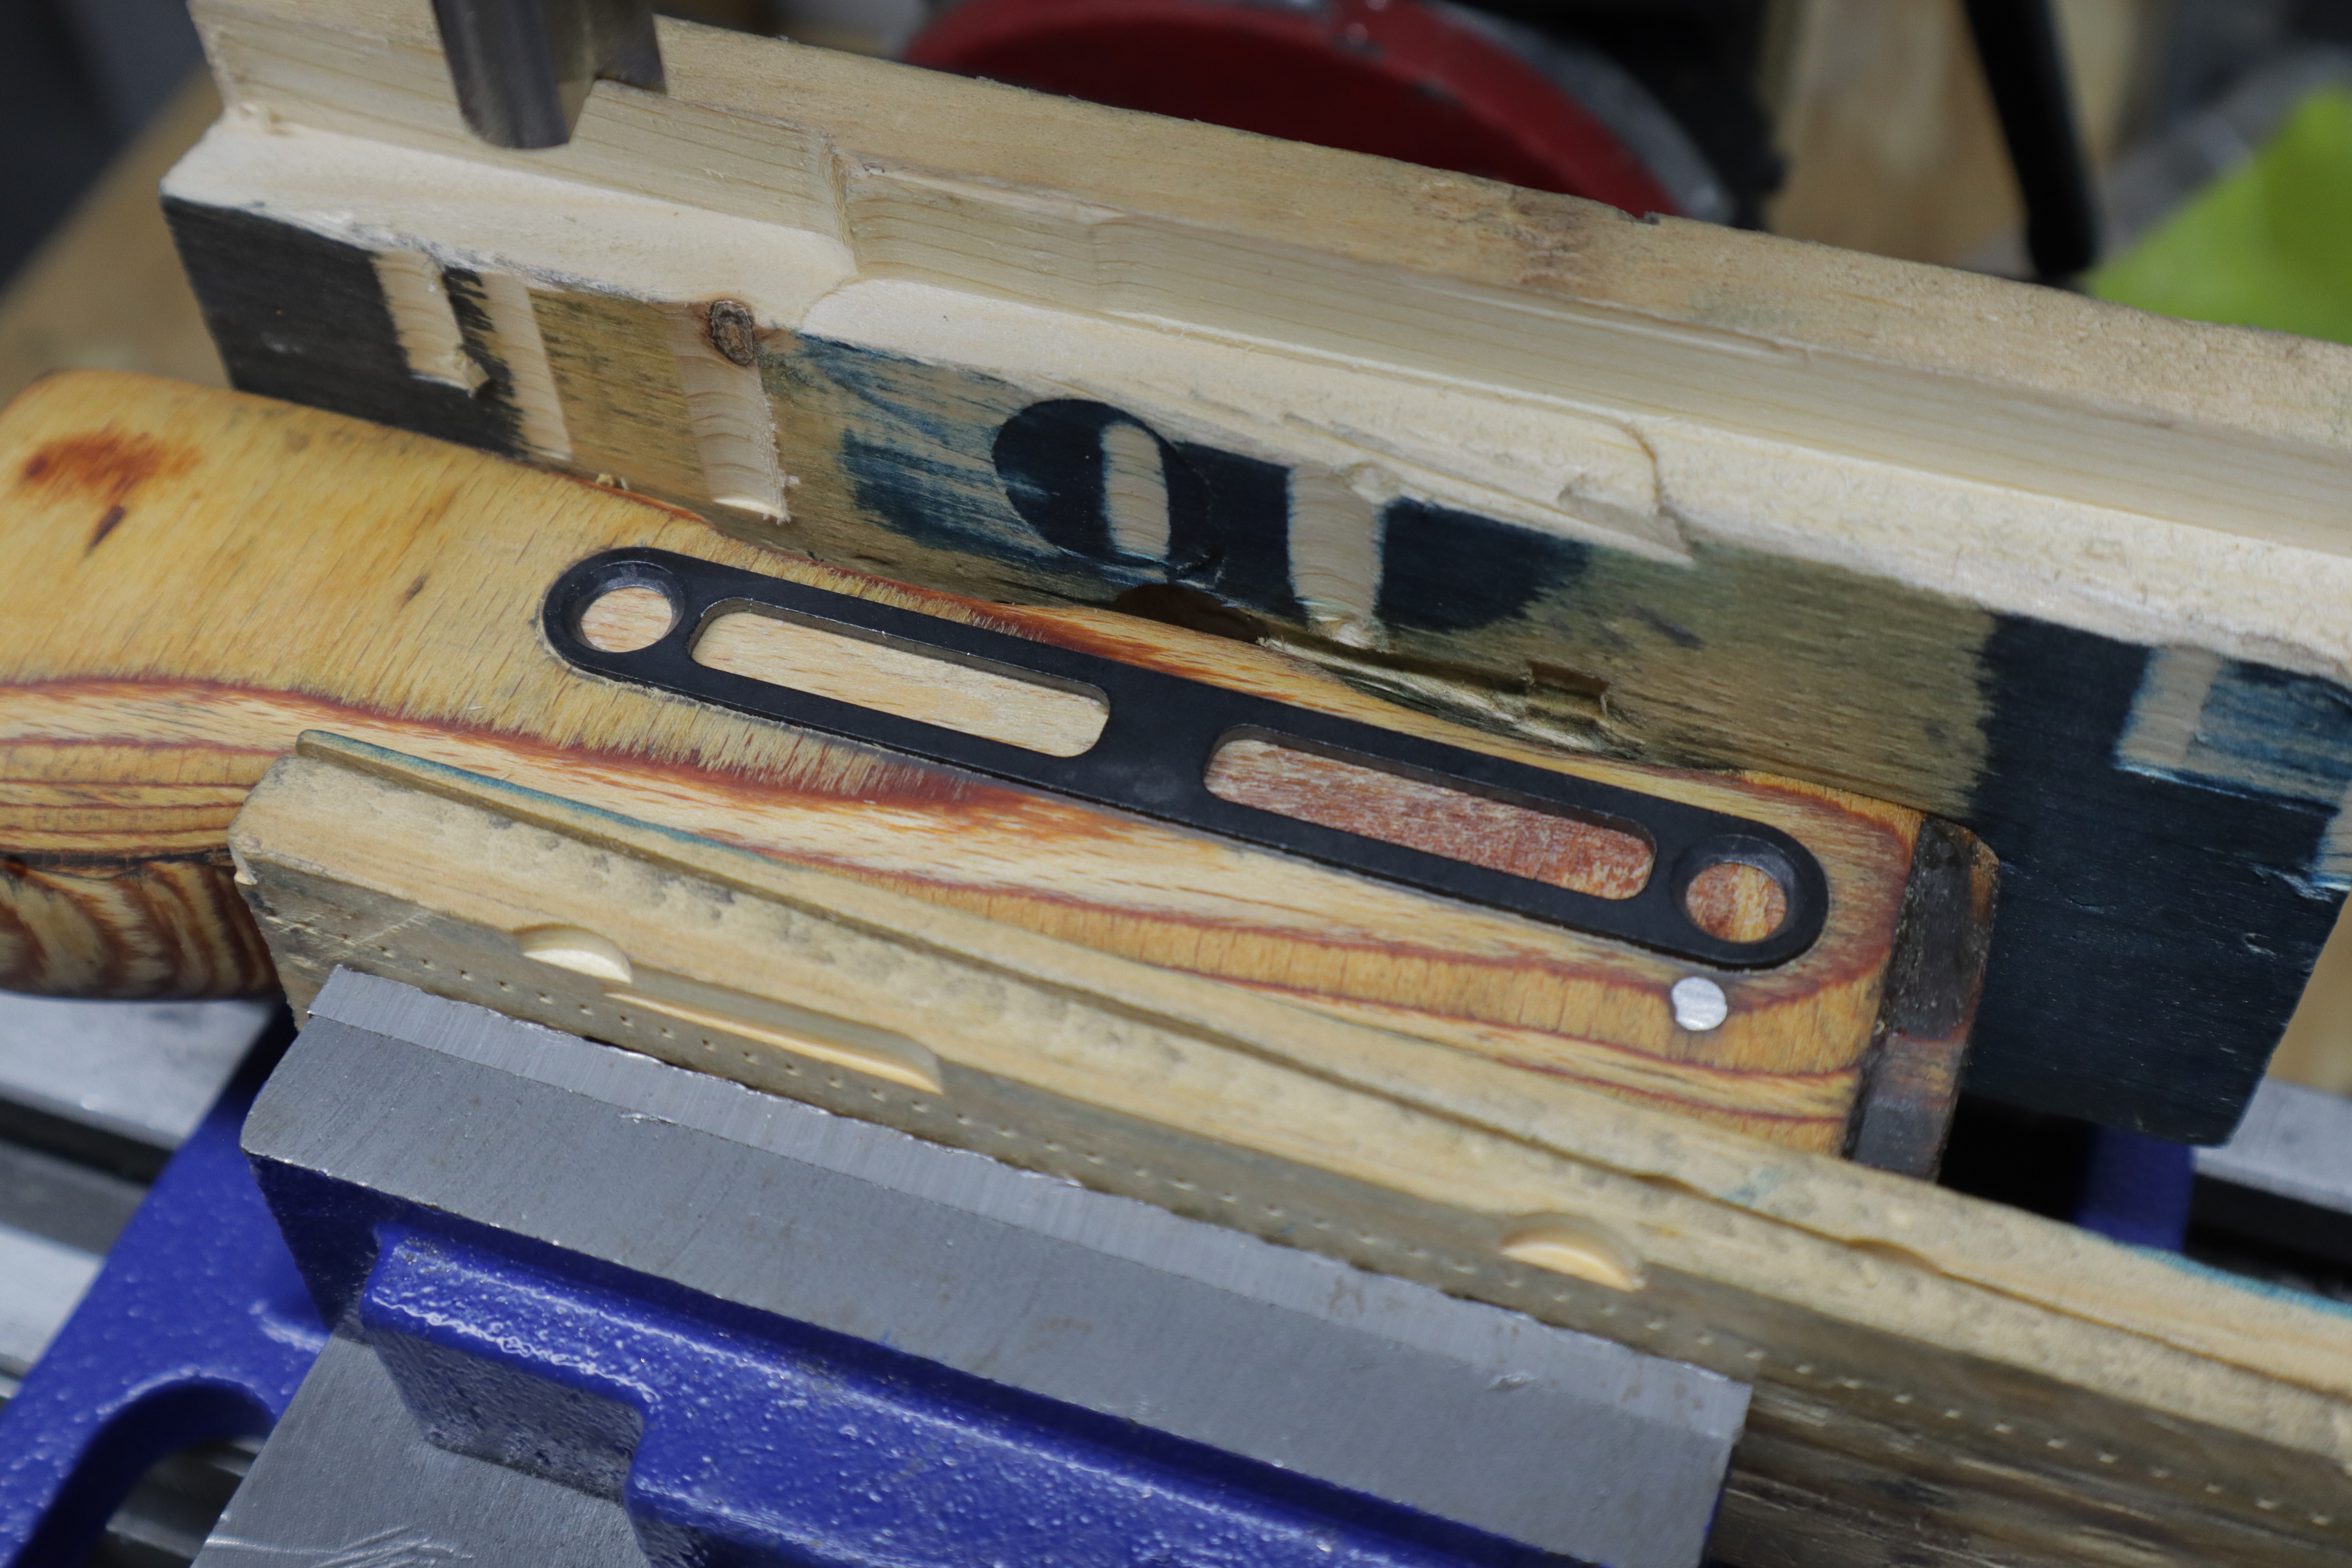
After the M-LOK panel slot is milled, place the panel in the slot and trace the inner M-LOK slots with a pencil.
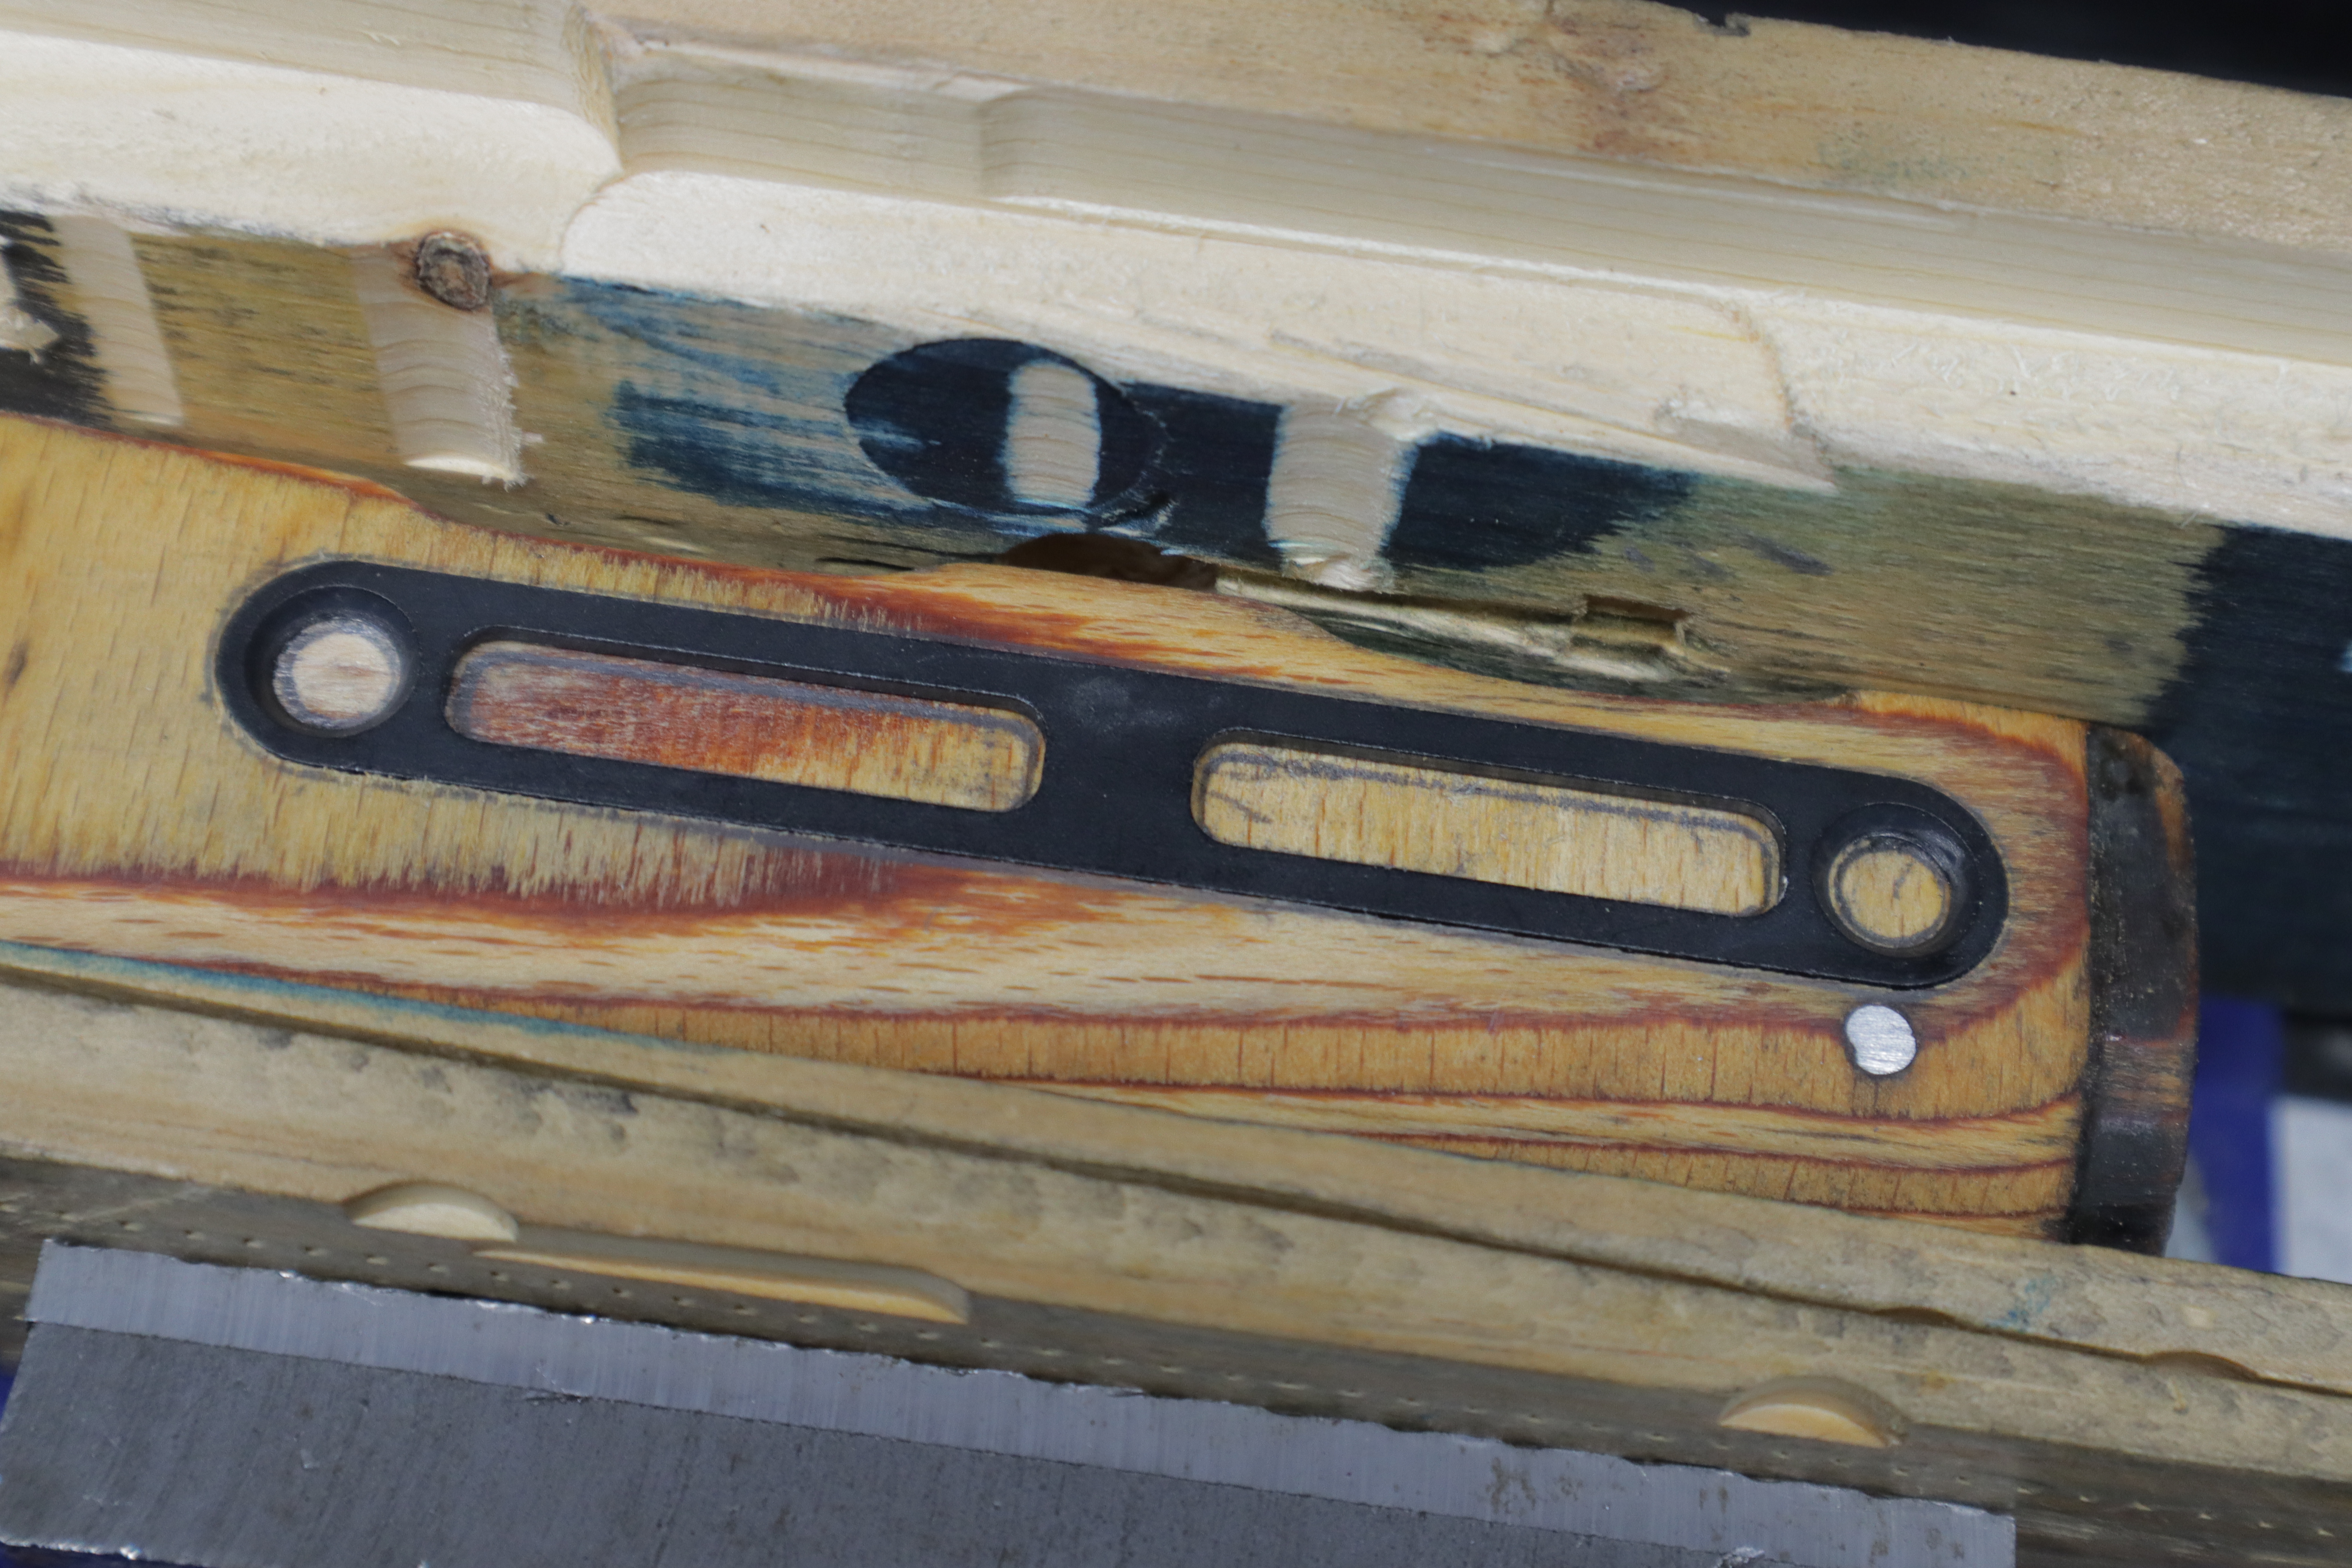
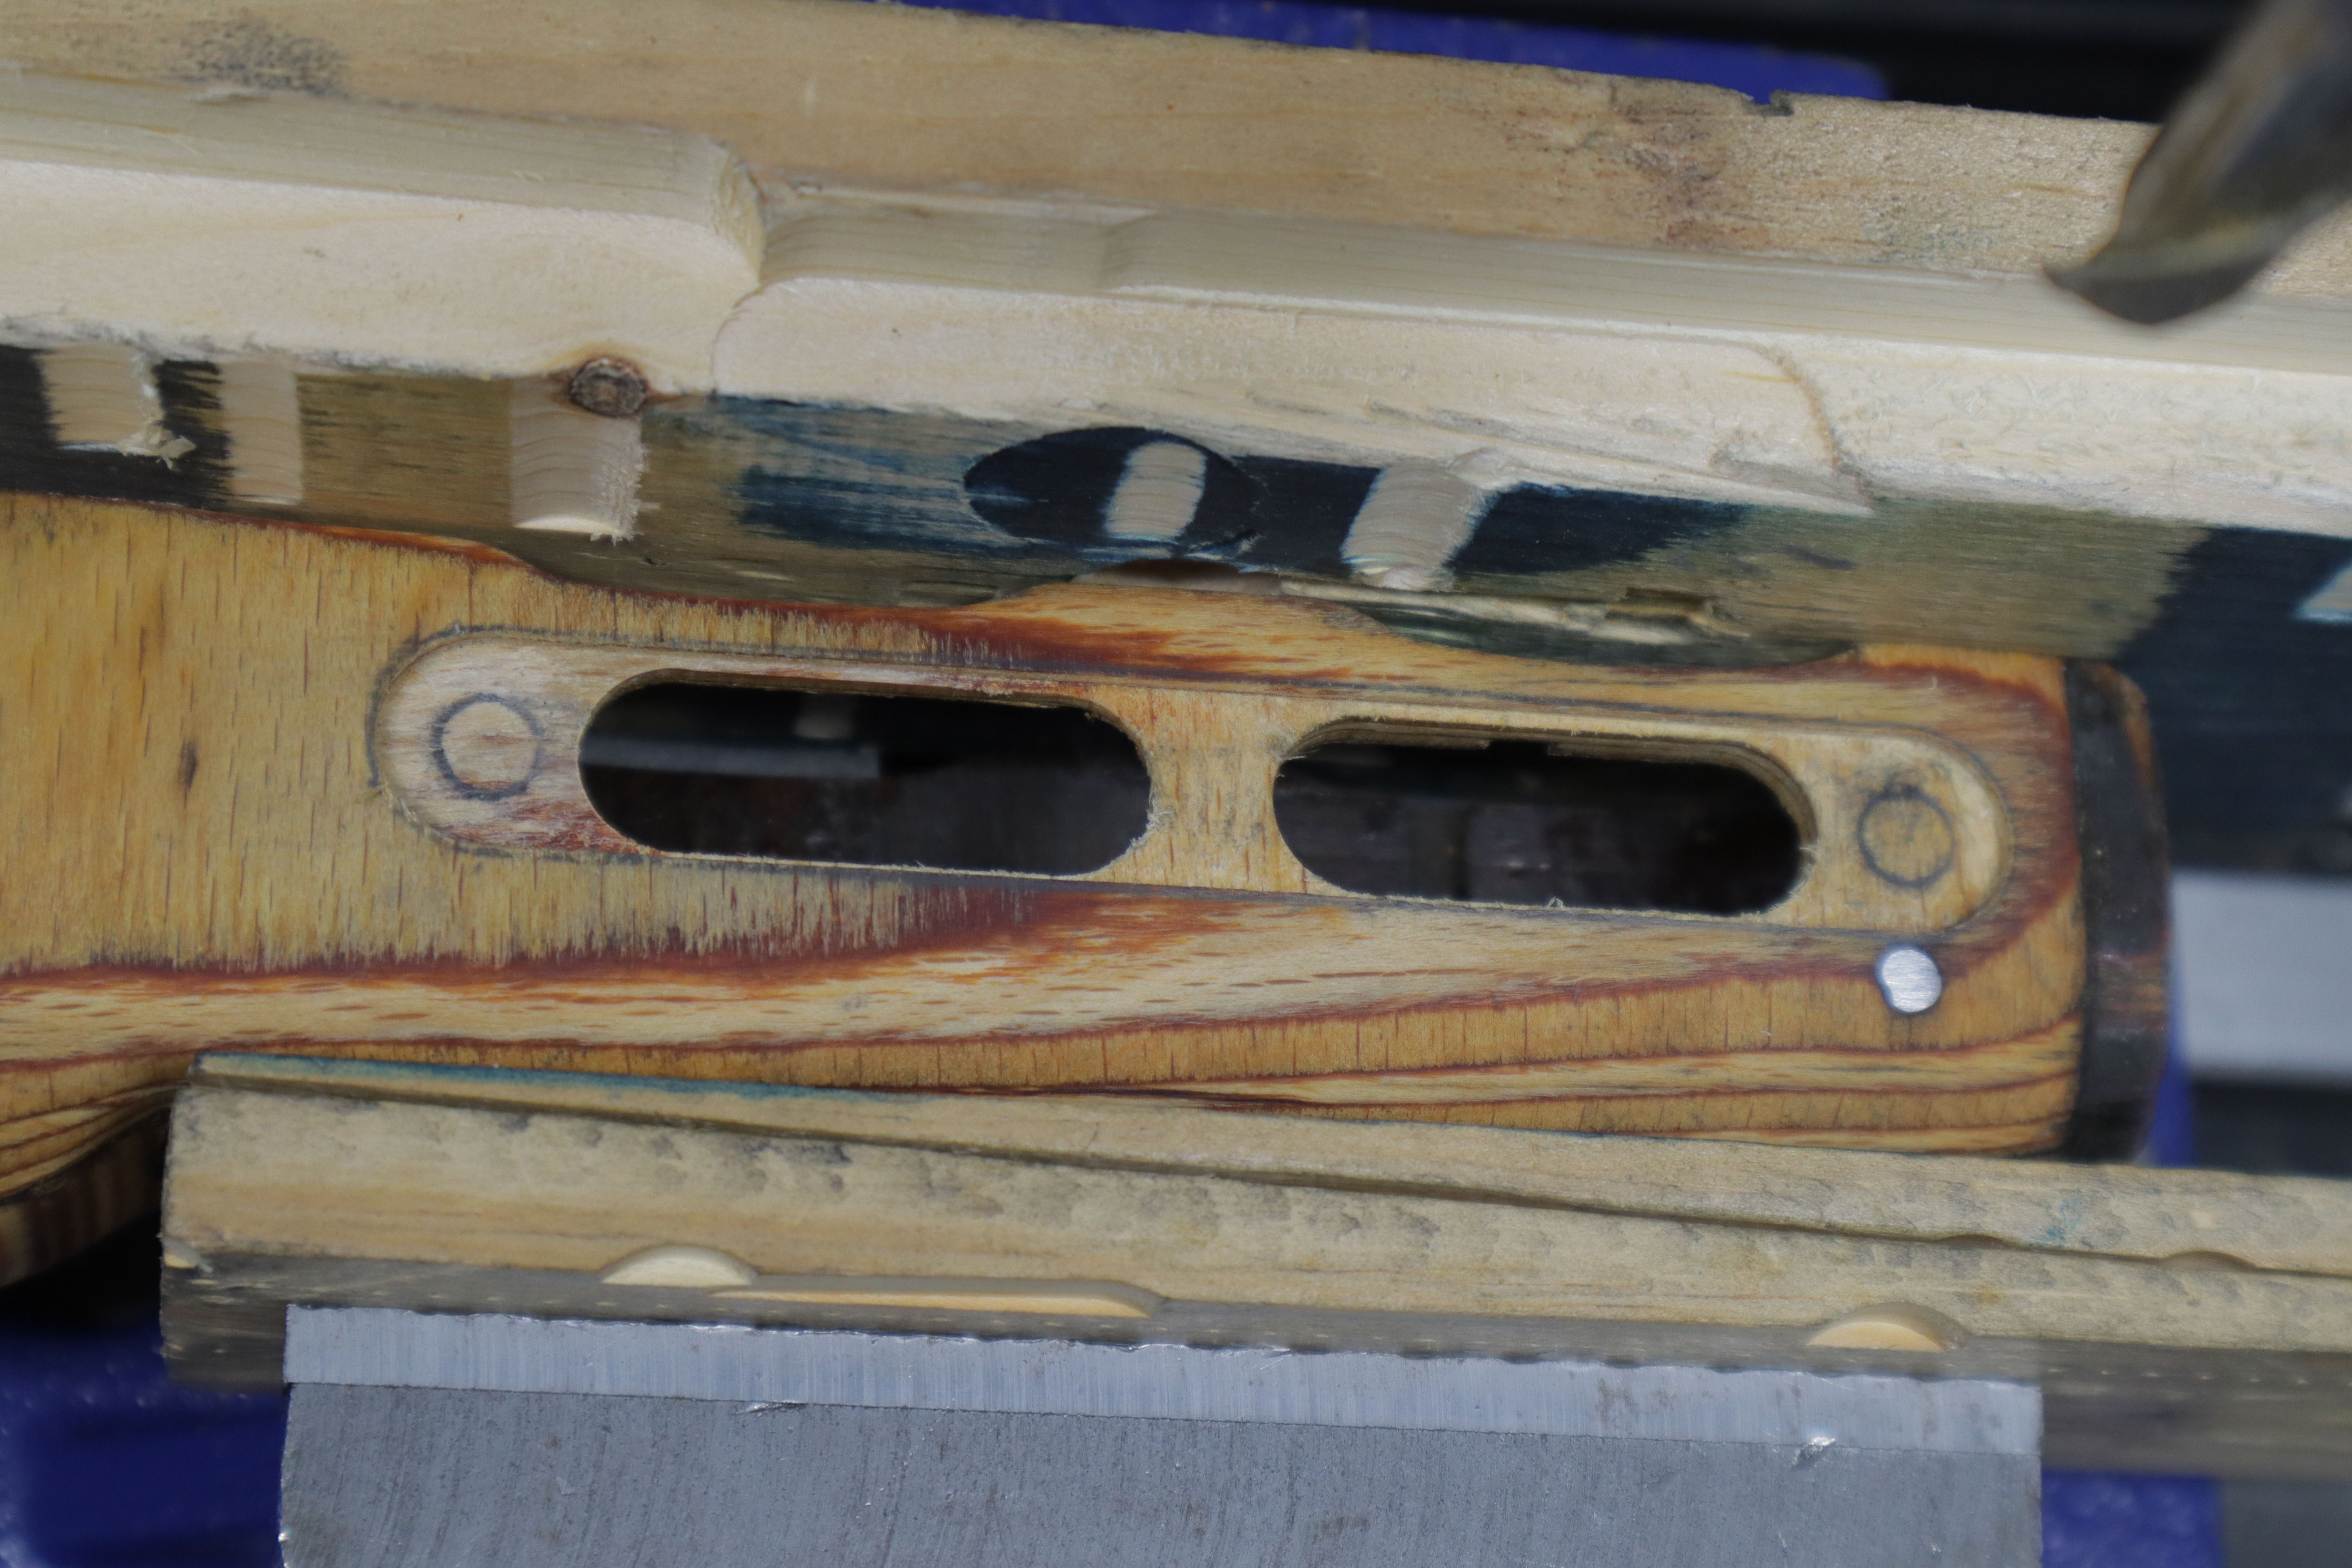
Step 4 - Milling M-LOK Slots
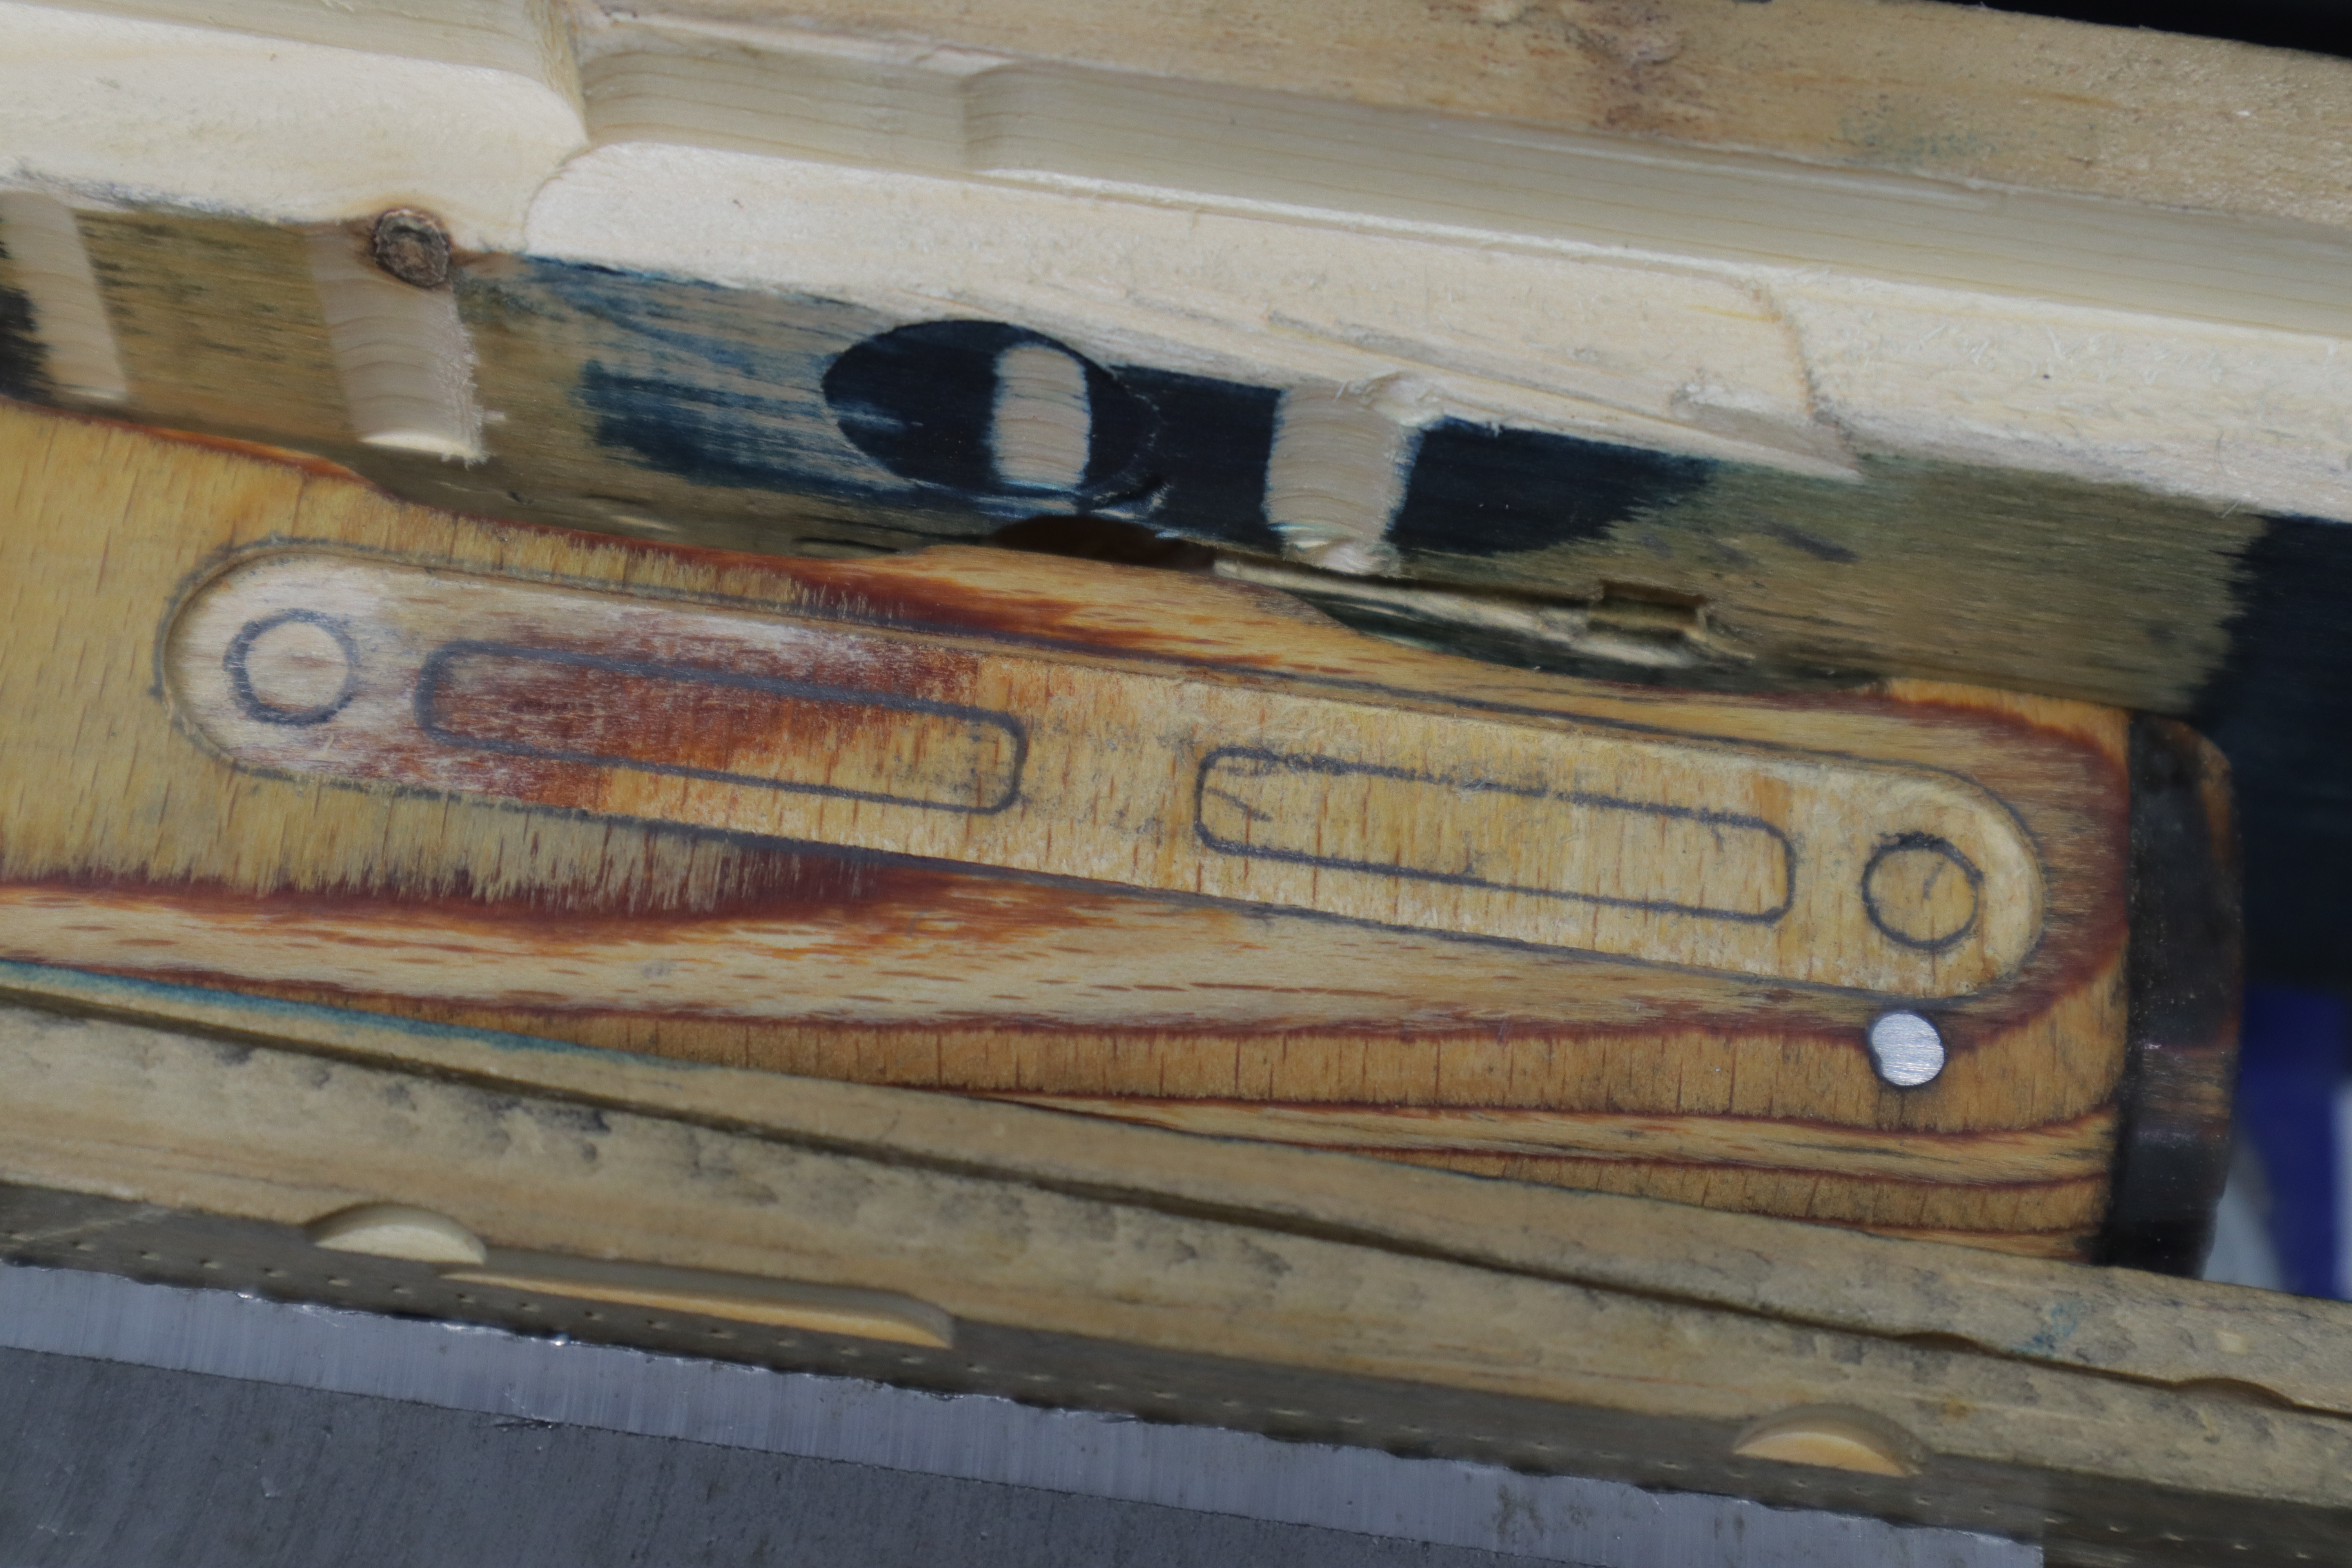
Using the 7/16" end mill, mill out the inner M-LOK slots.
Step 5 - Drilling Screw Holes
Using the 7/32" drill bit, drill the screw holes.
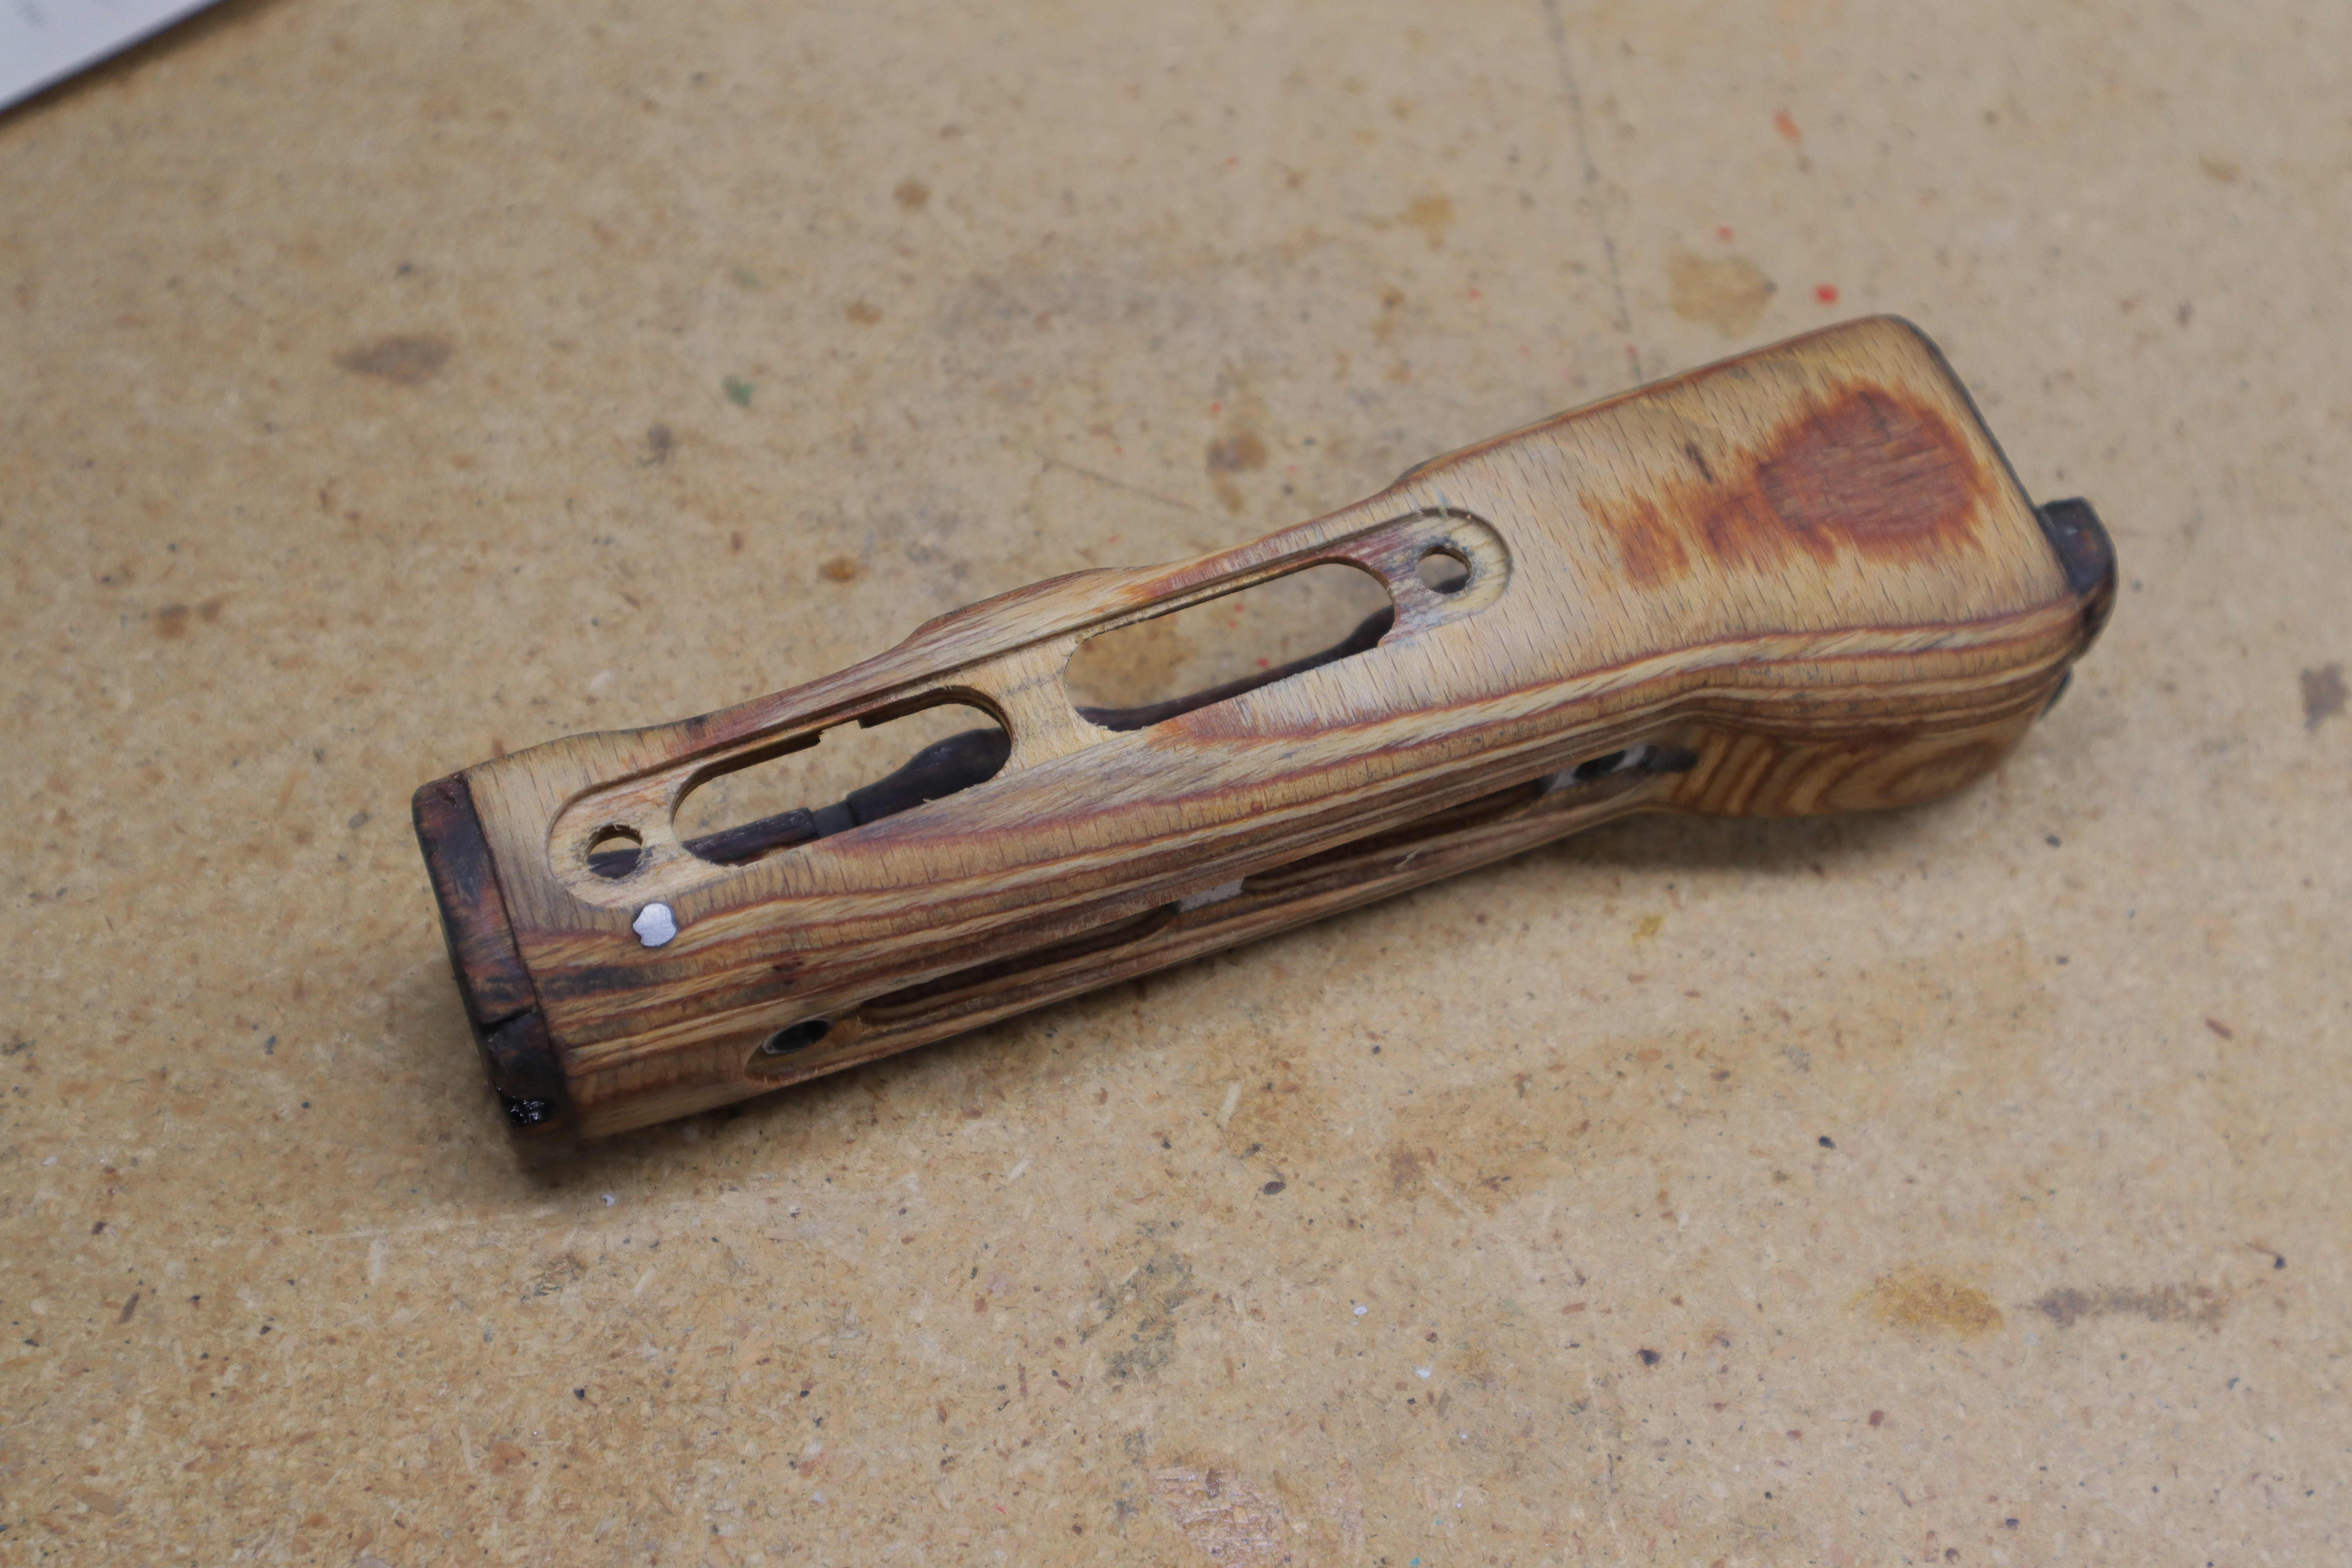
Check your panel fit one last time.
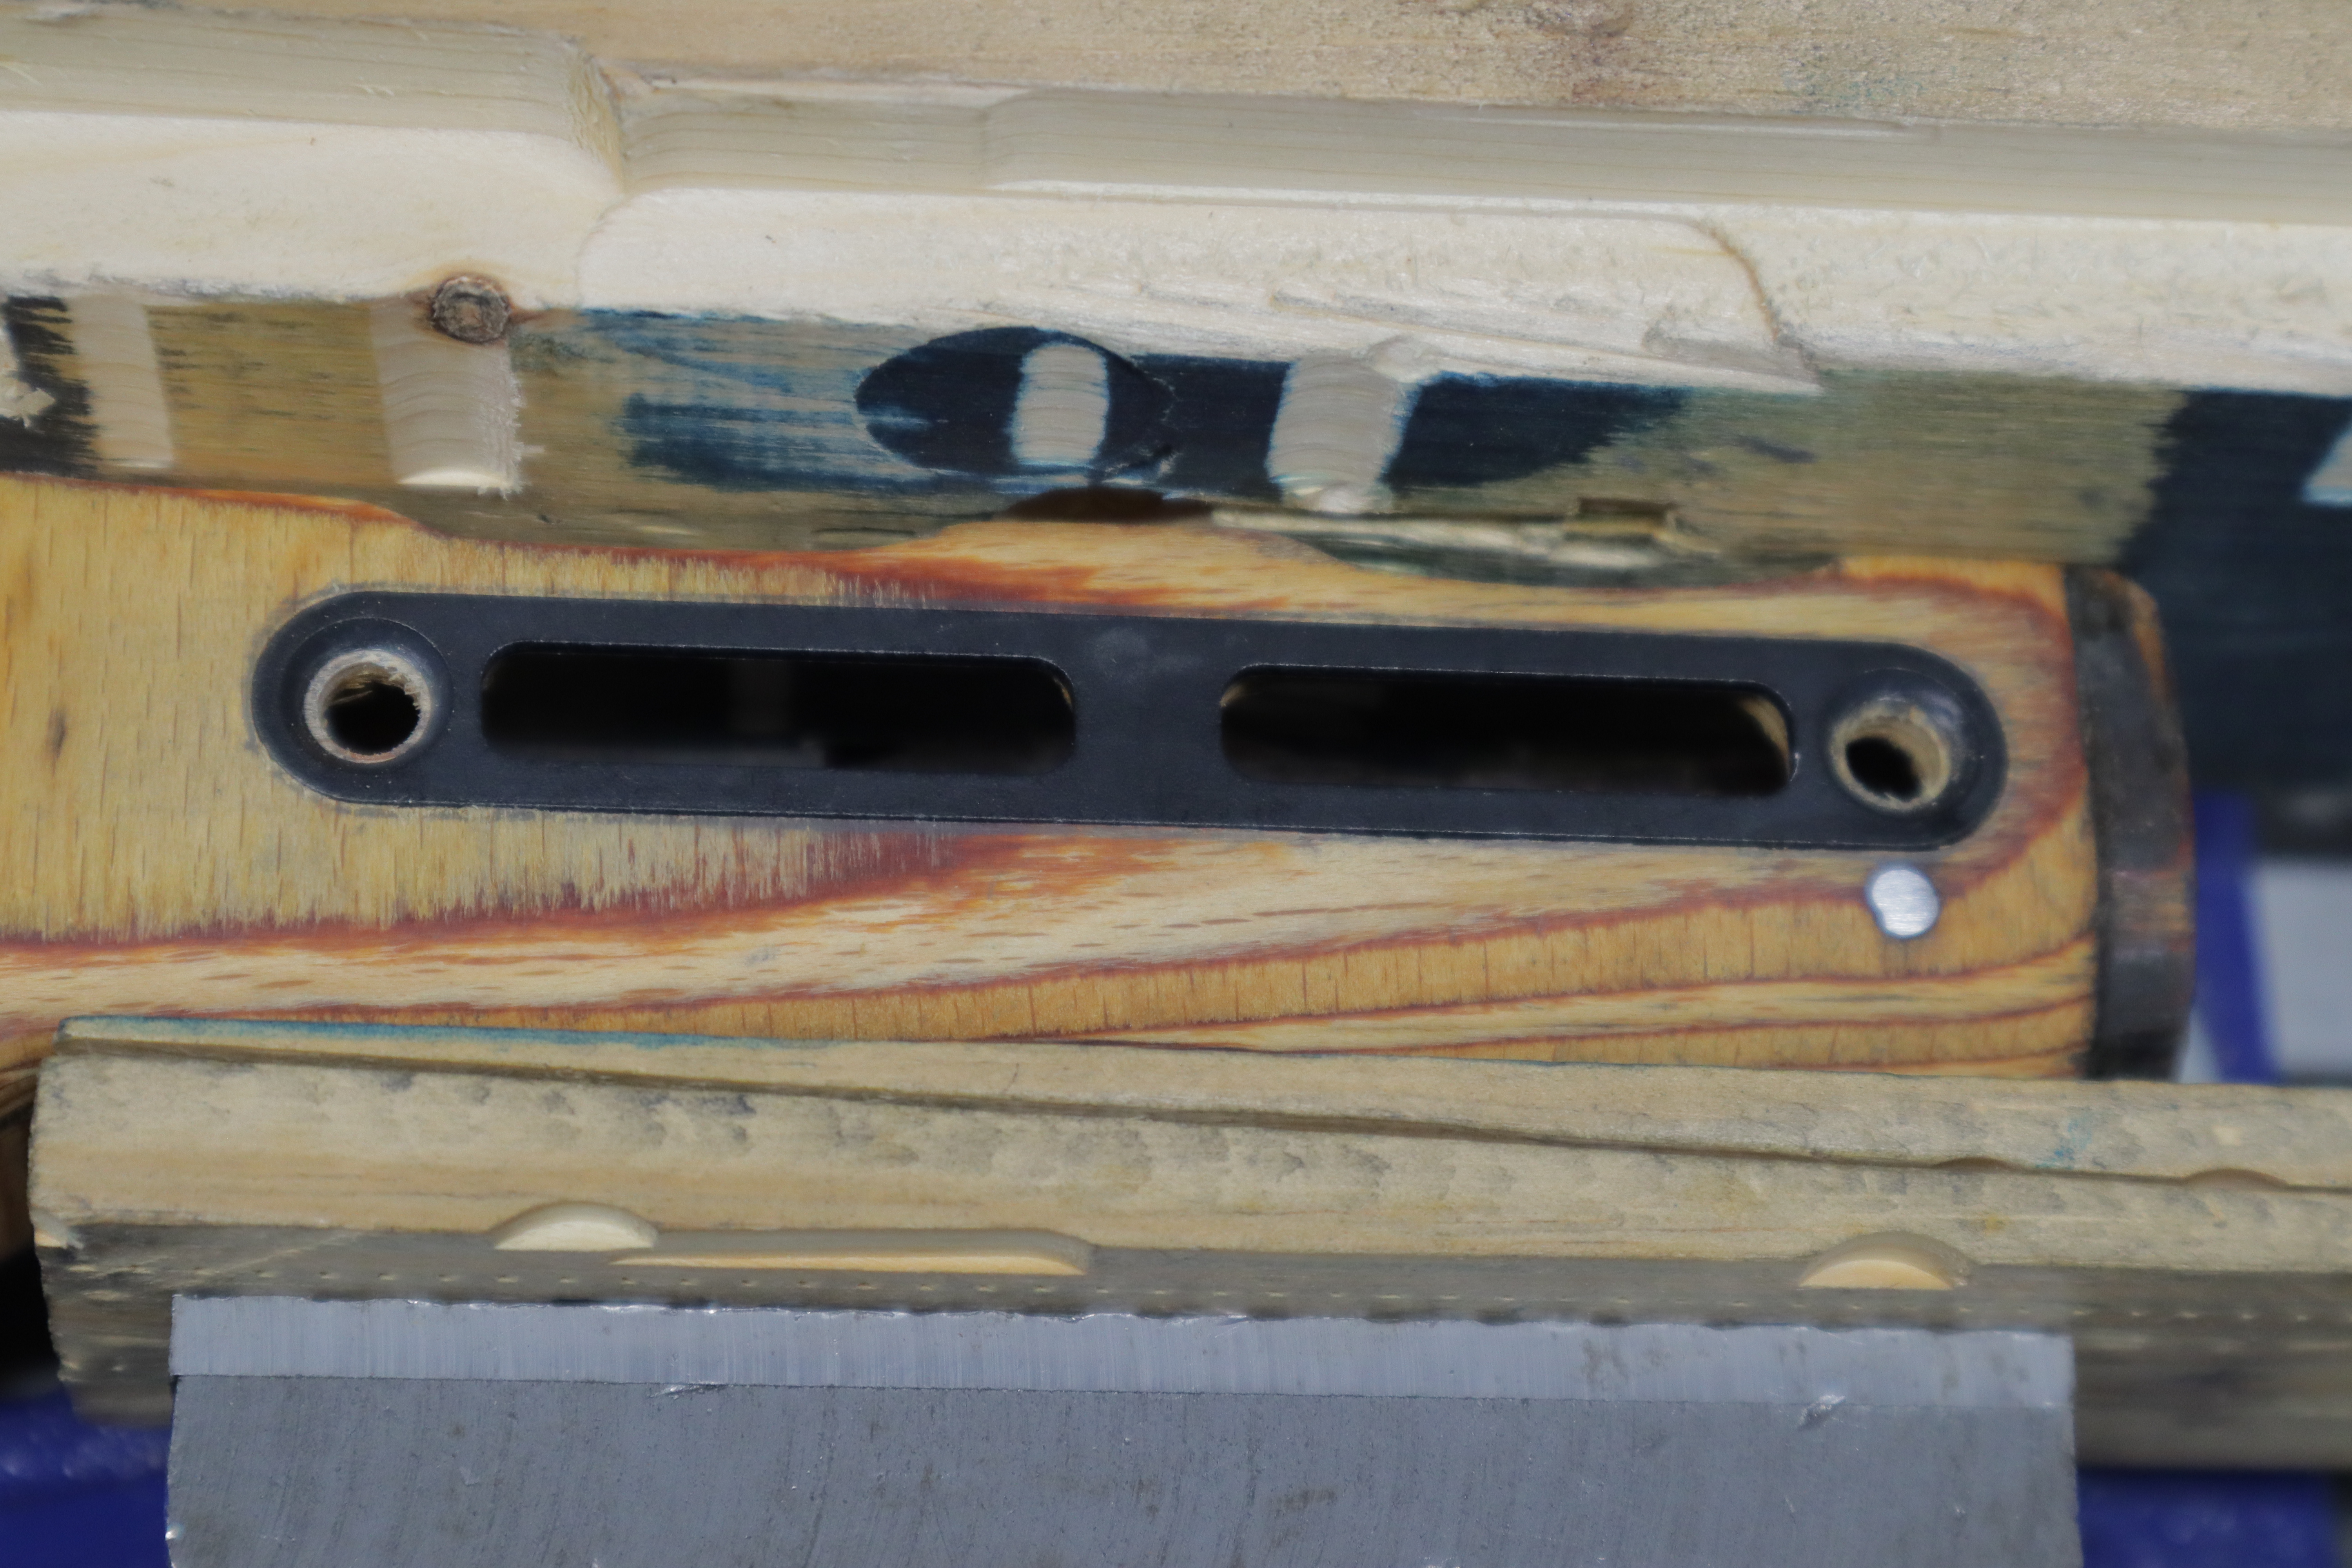
Step 6 - Fitting Mounting Hardware
If you're planning to apply a finish to your handguard we recommend doing so before installing the M-LOK panel.
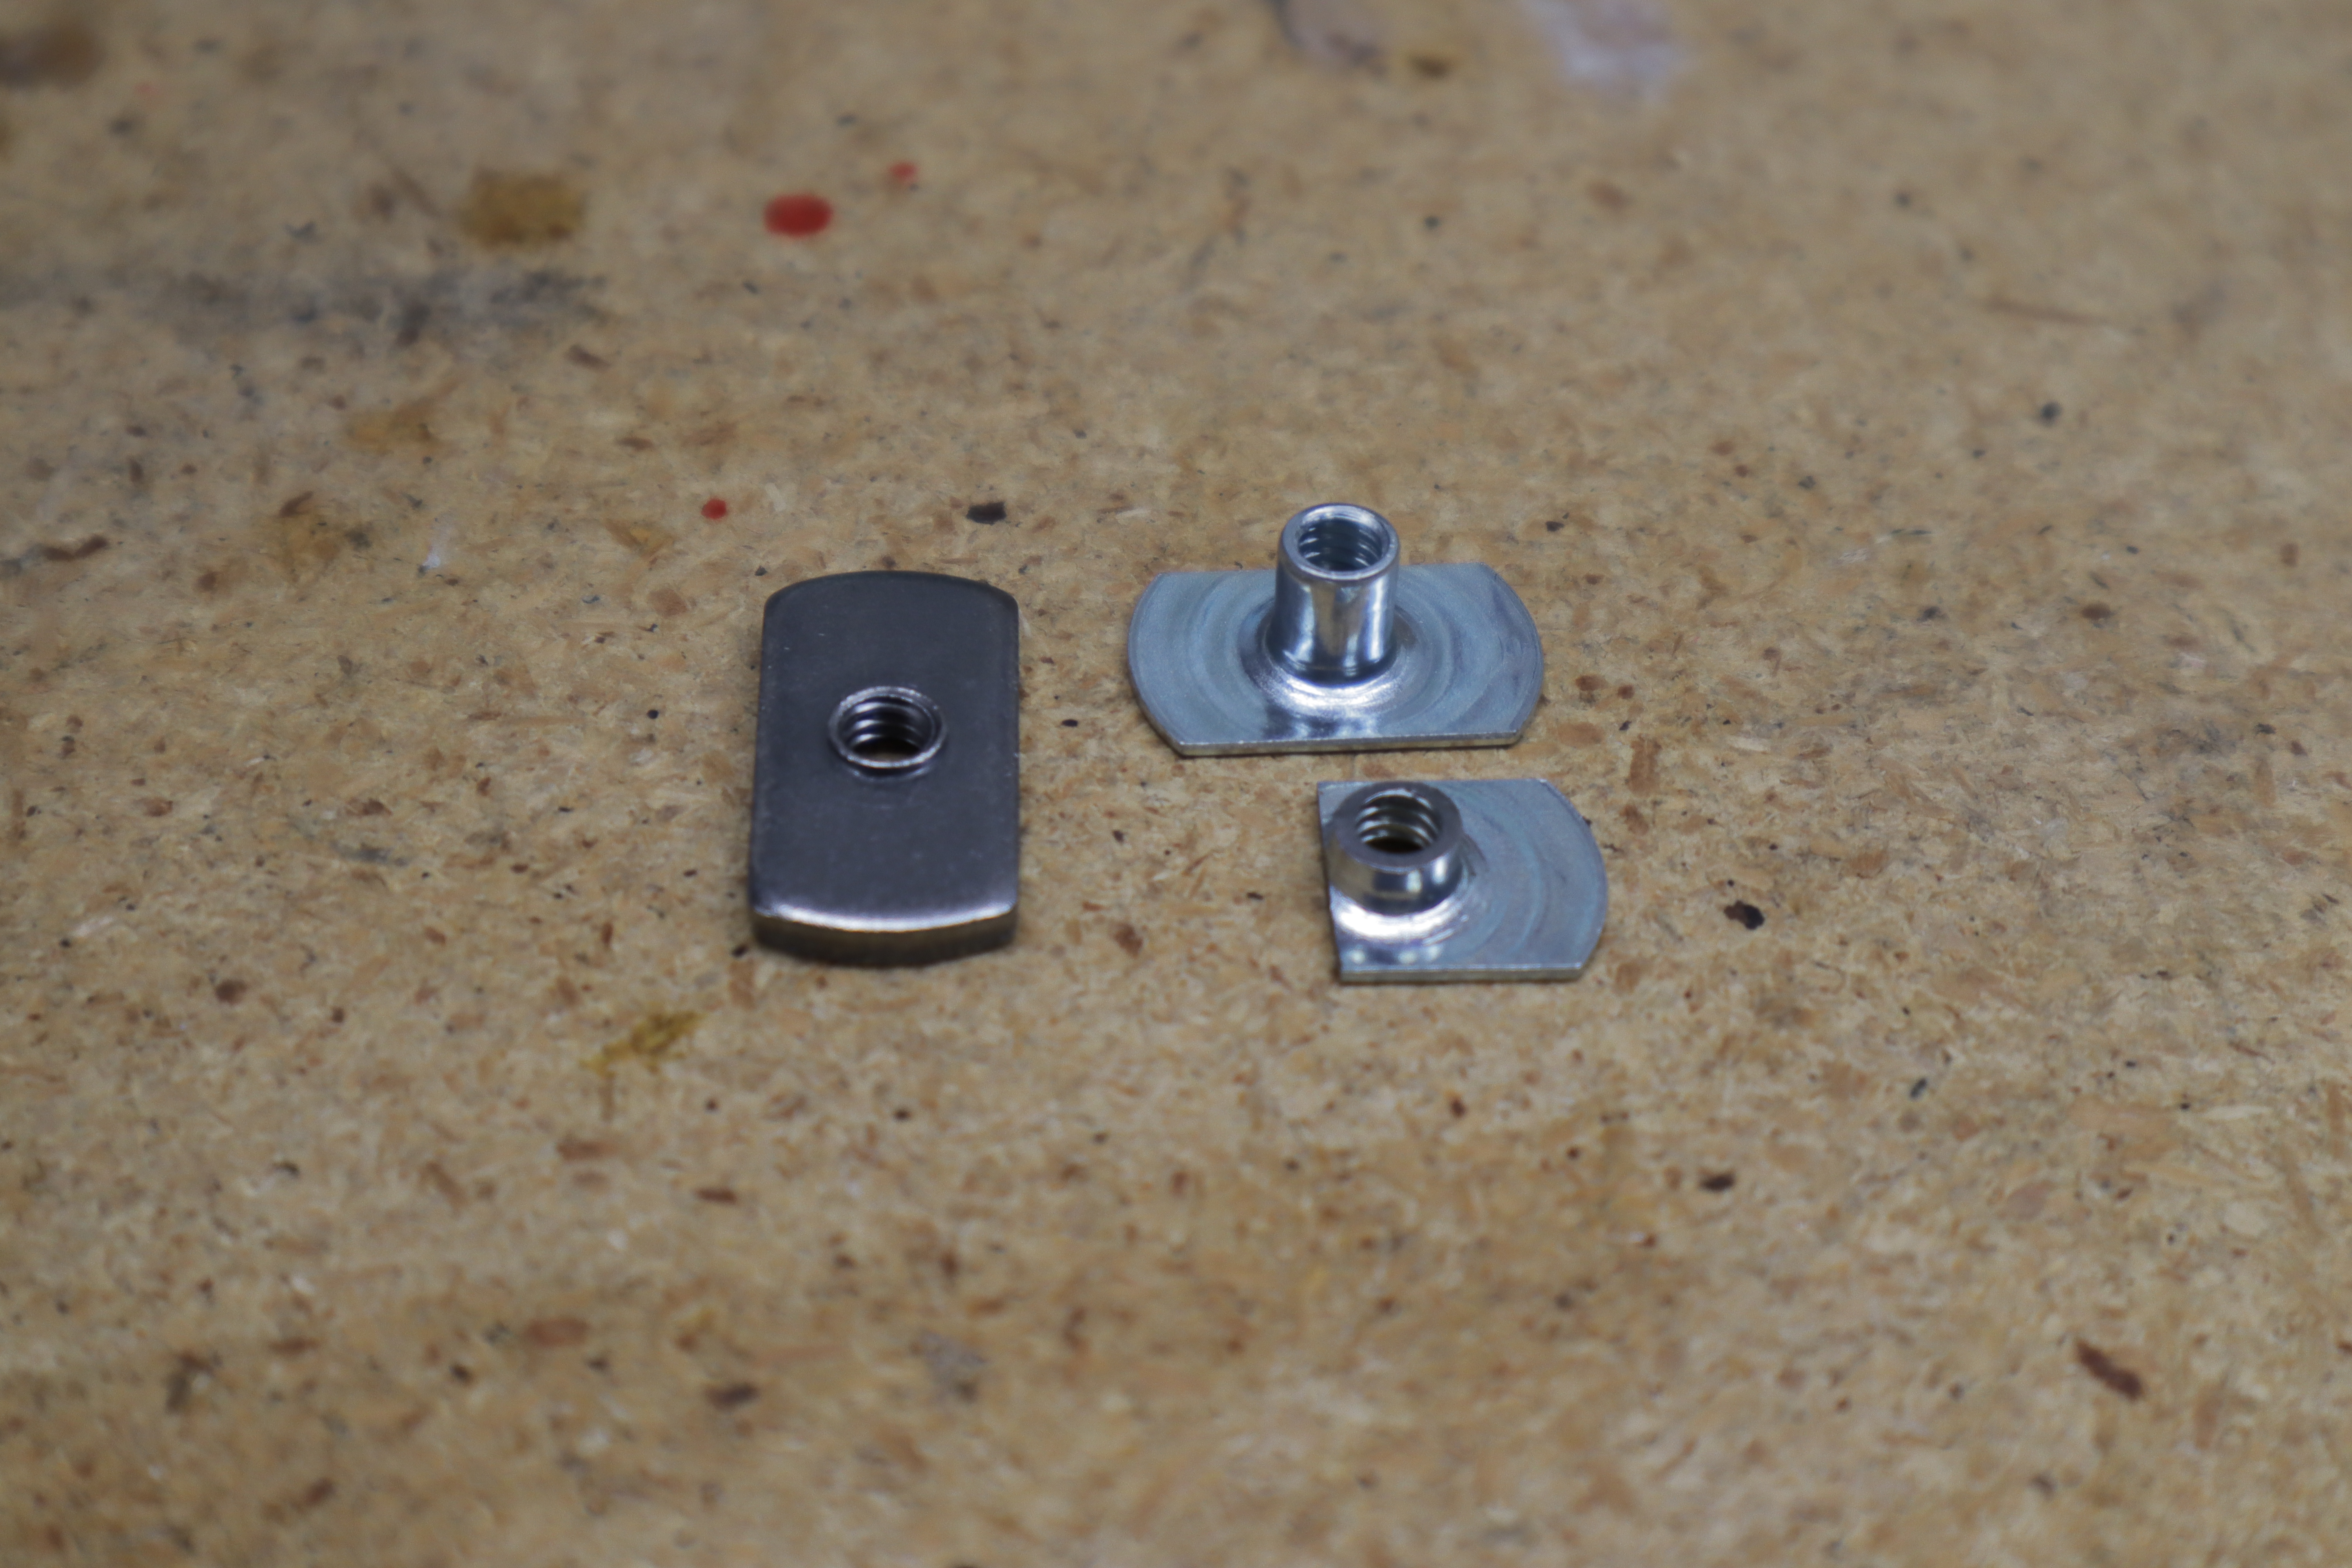
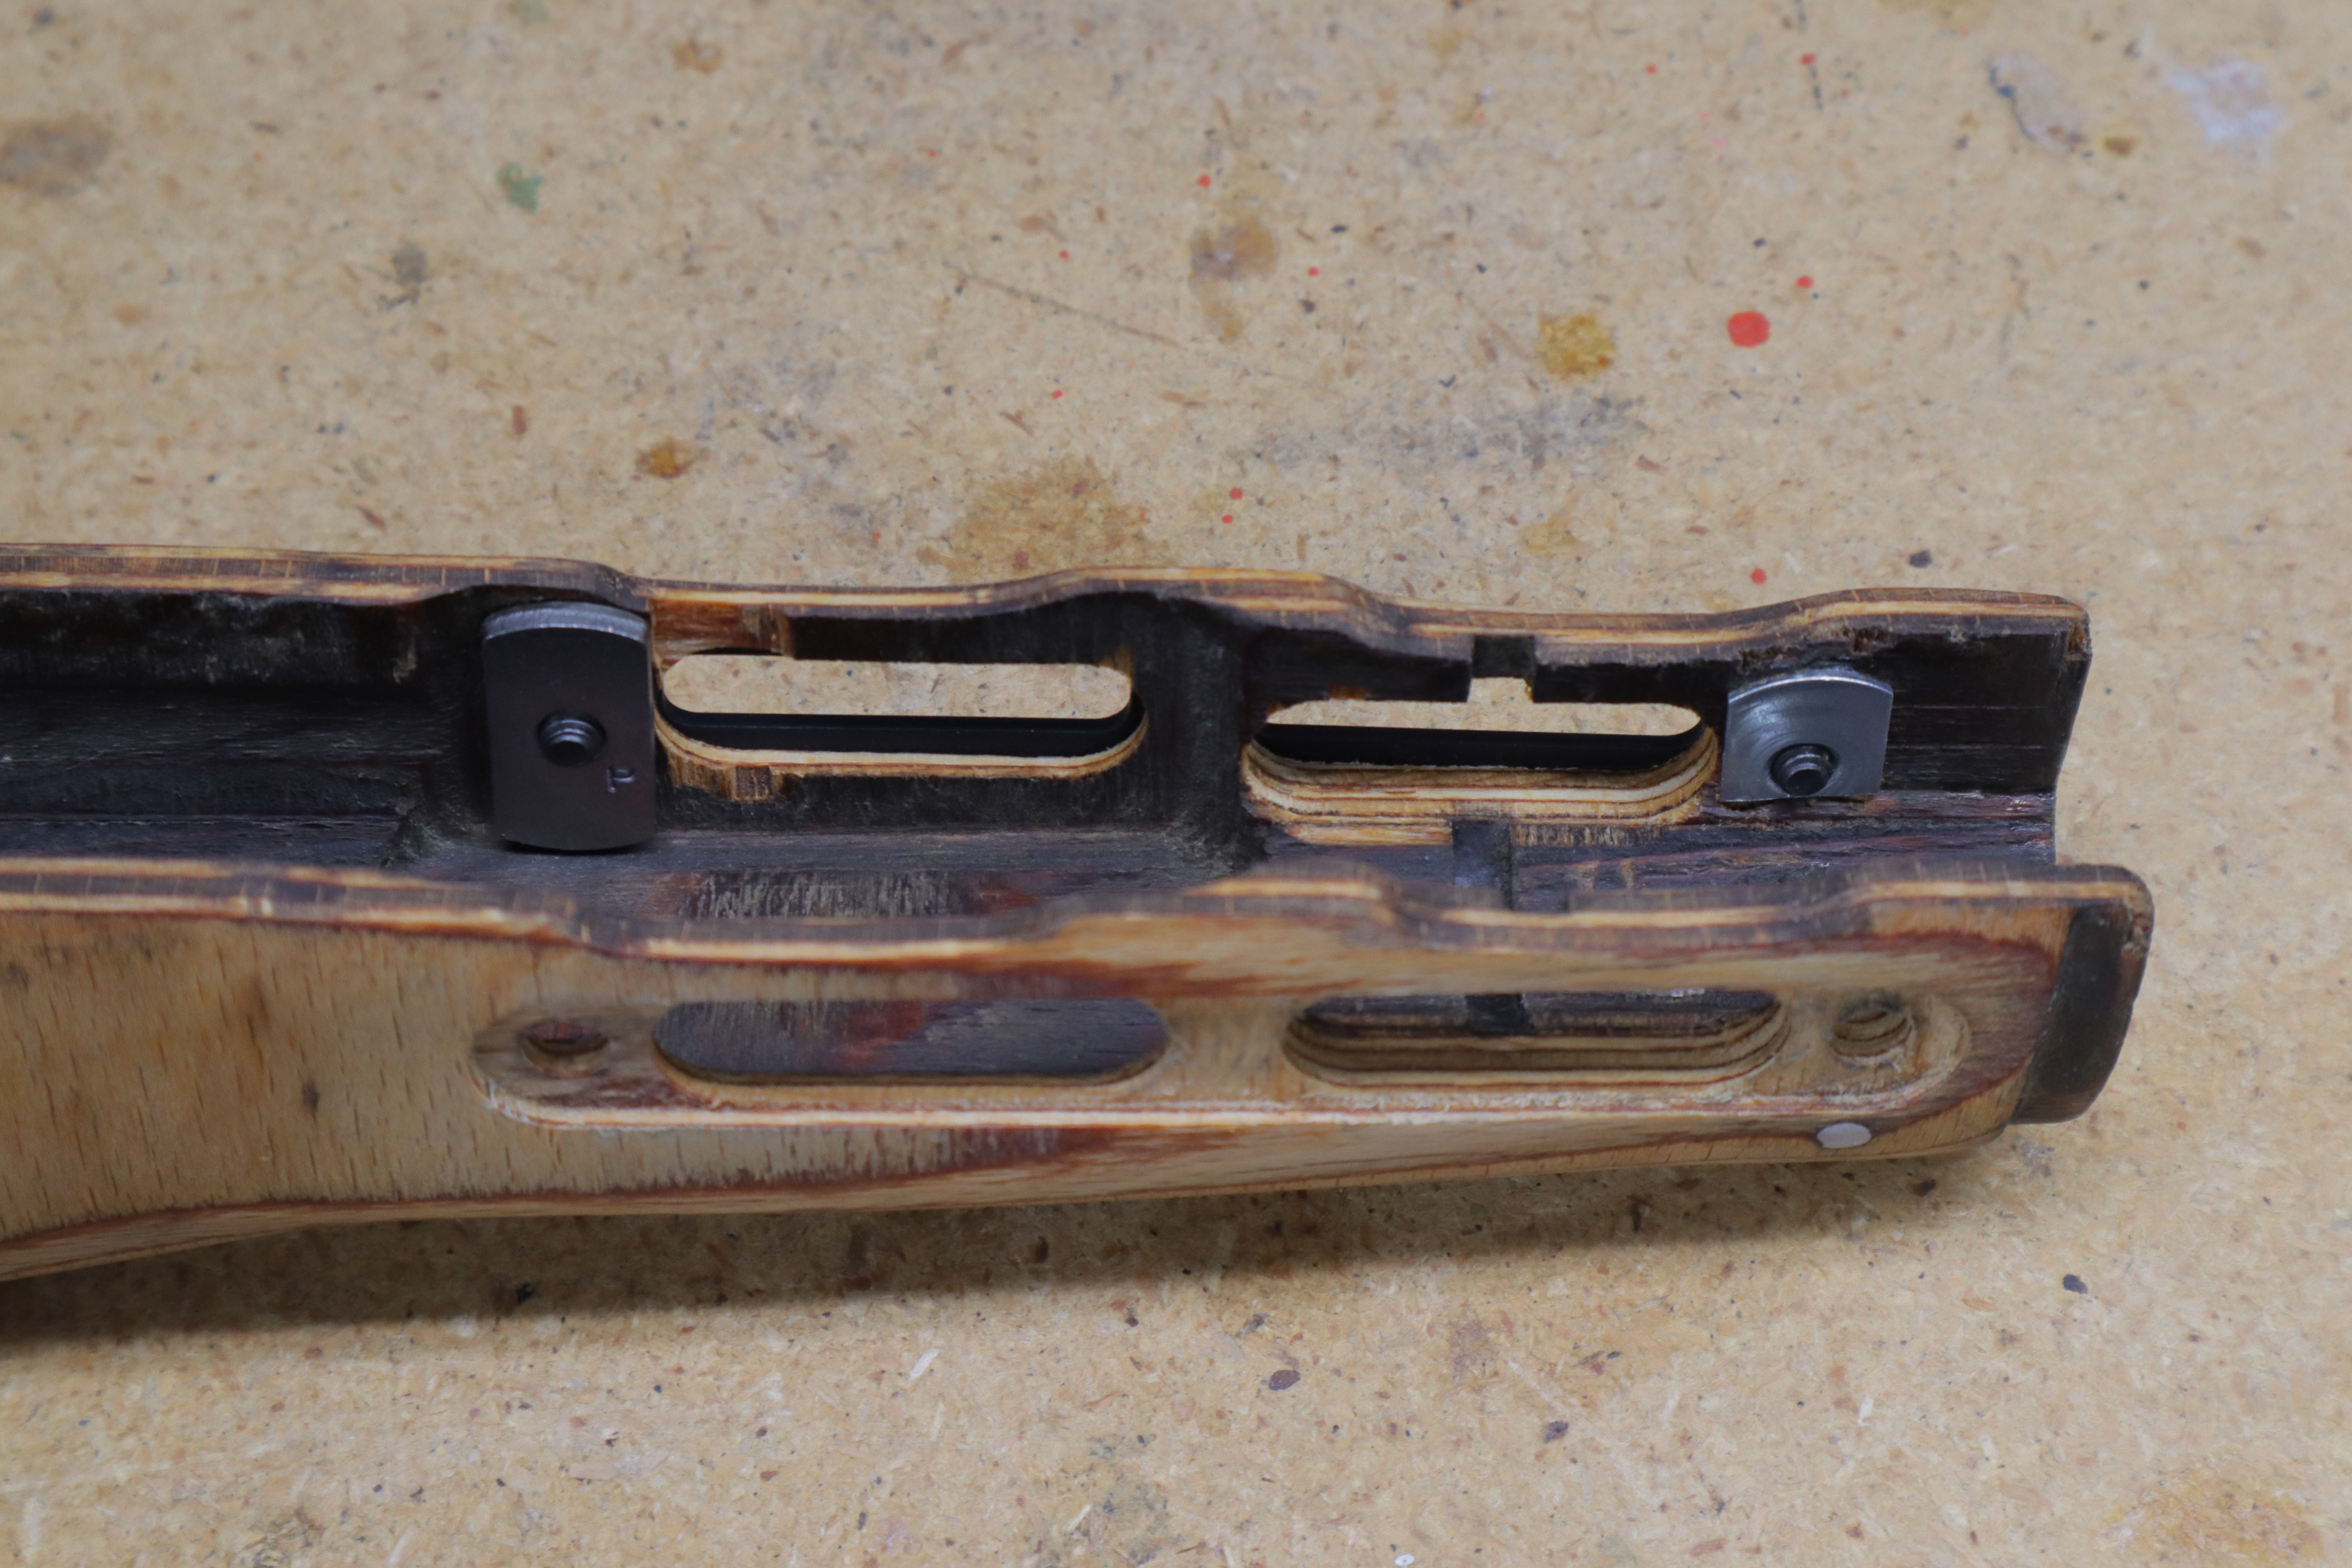
For this install we're using Weld Nuts Type A in the front and Type B in the rear. Weld Nut Type A will need to be modified to fit by trimming one side and filing the barrel roughly in half.
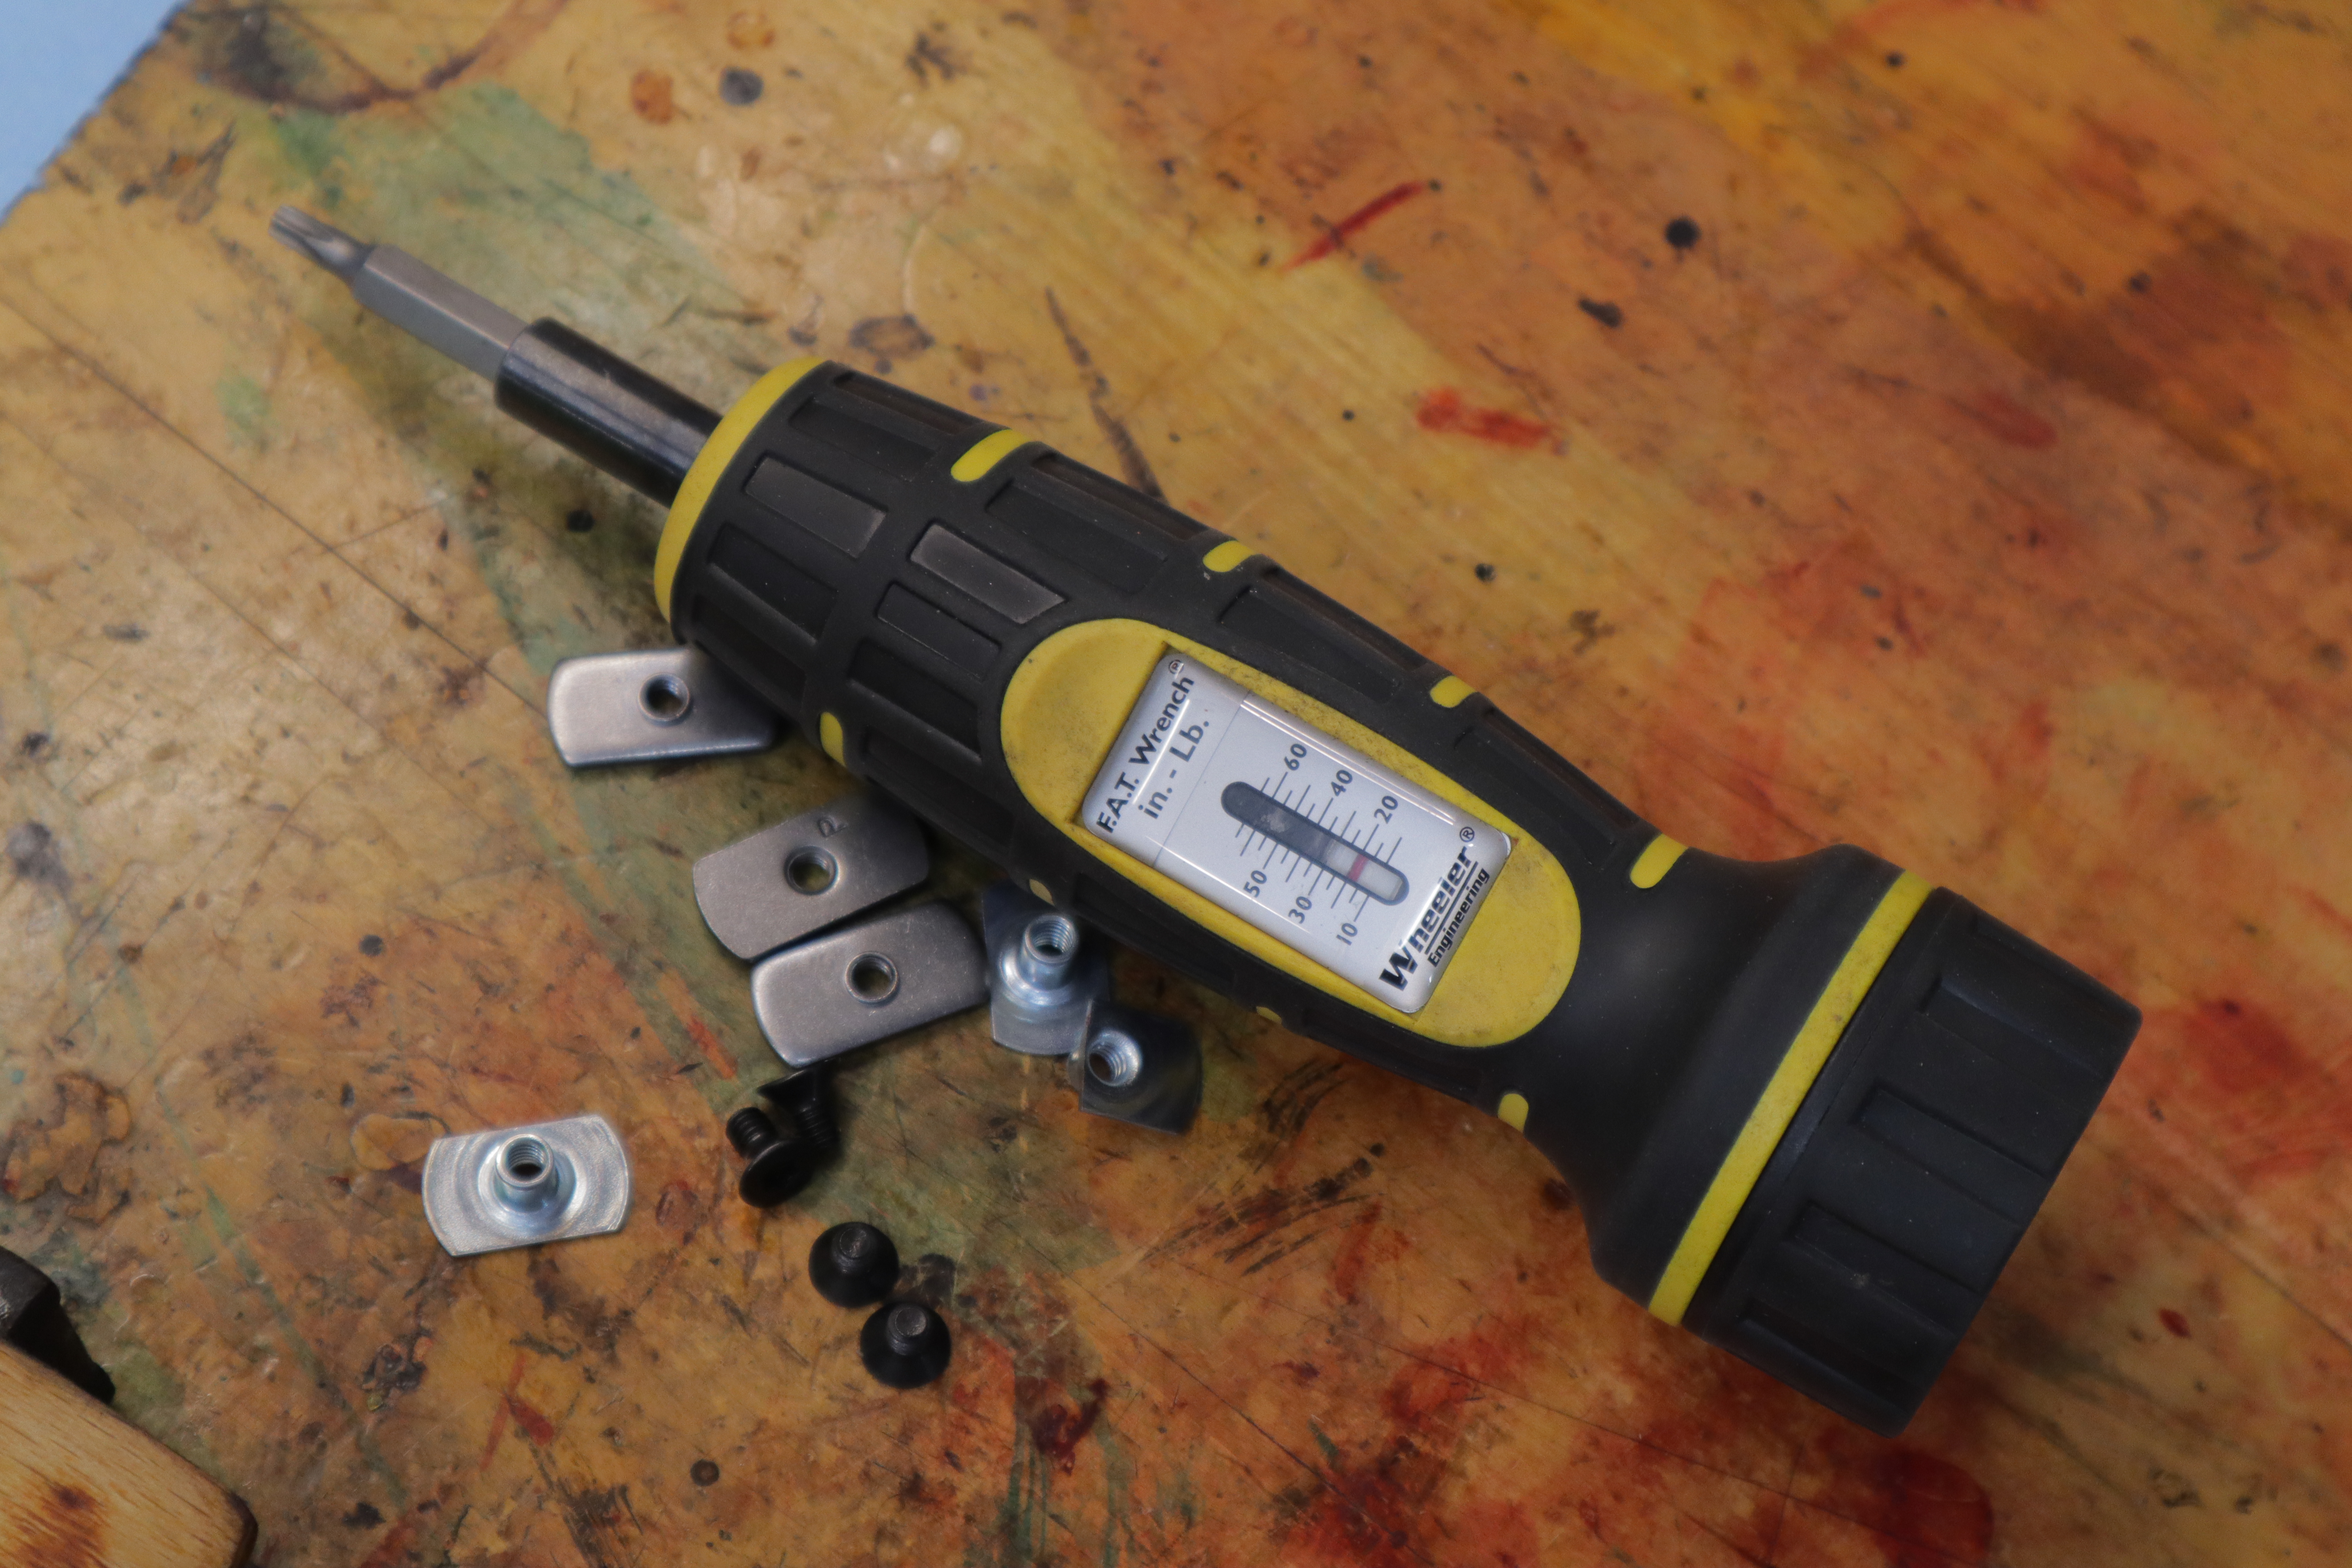
Step 7 - Installing Mounting Hardware
To install the mounting hardware you'll need:
- T20 Torx Driver or Torque Wrench (No more than 20in/lbs!)
- Flathead screwdriver or other tool to use as a wedge
- Vice with plastic jaws or another way to hold the handguard
- Blue Threadlocker
Set your torque wrench no more than 20in/lbs (you don't want to crack the wood) and apply blue threadlocker to your screws.
You may need to use a flathead screwdriver or other wedge-like tool to prevent the weld nut from rotating while installing the screw.
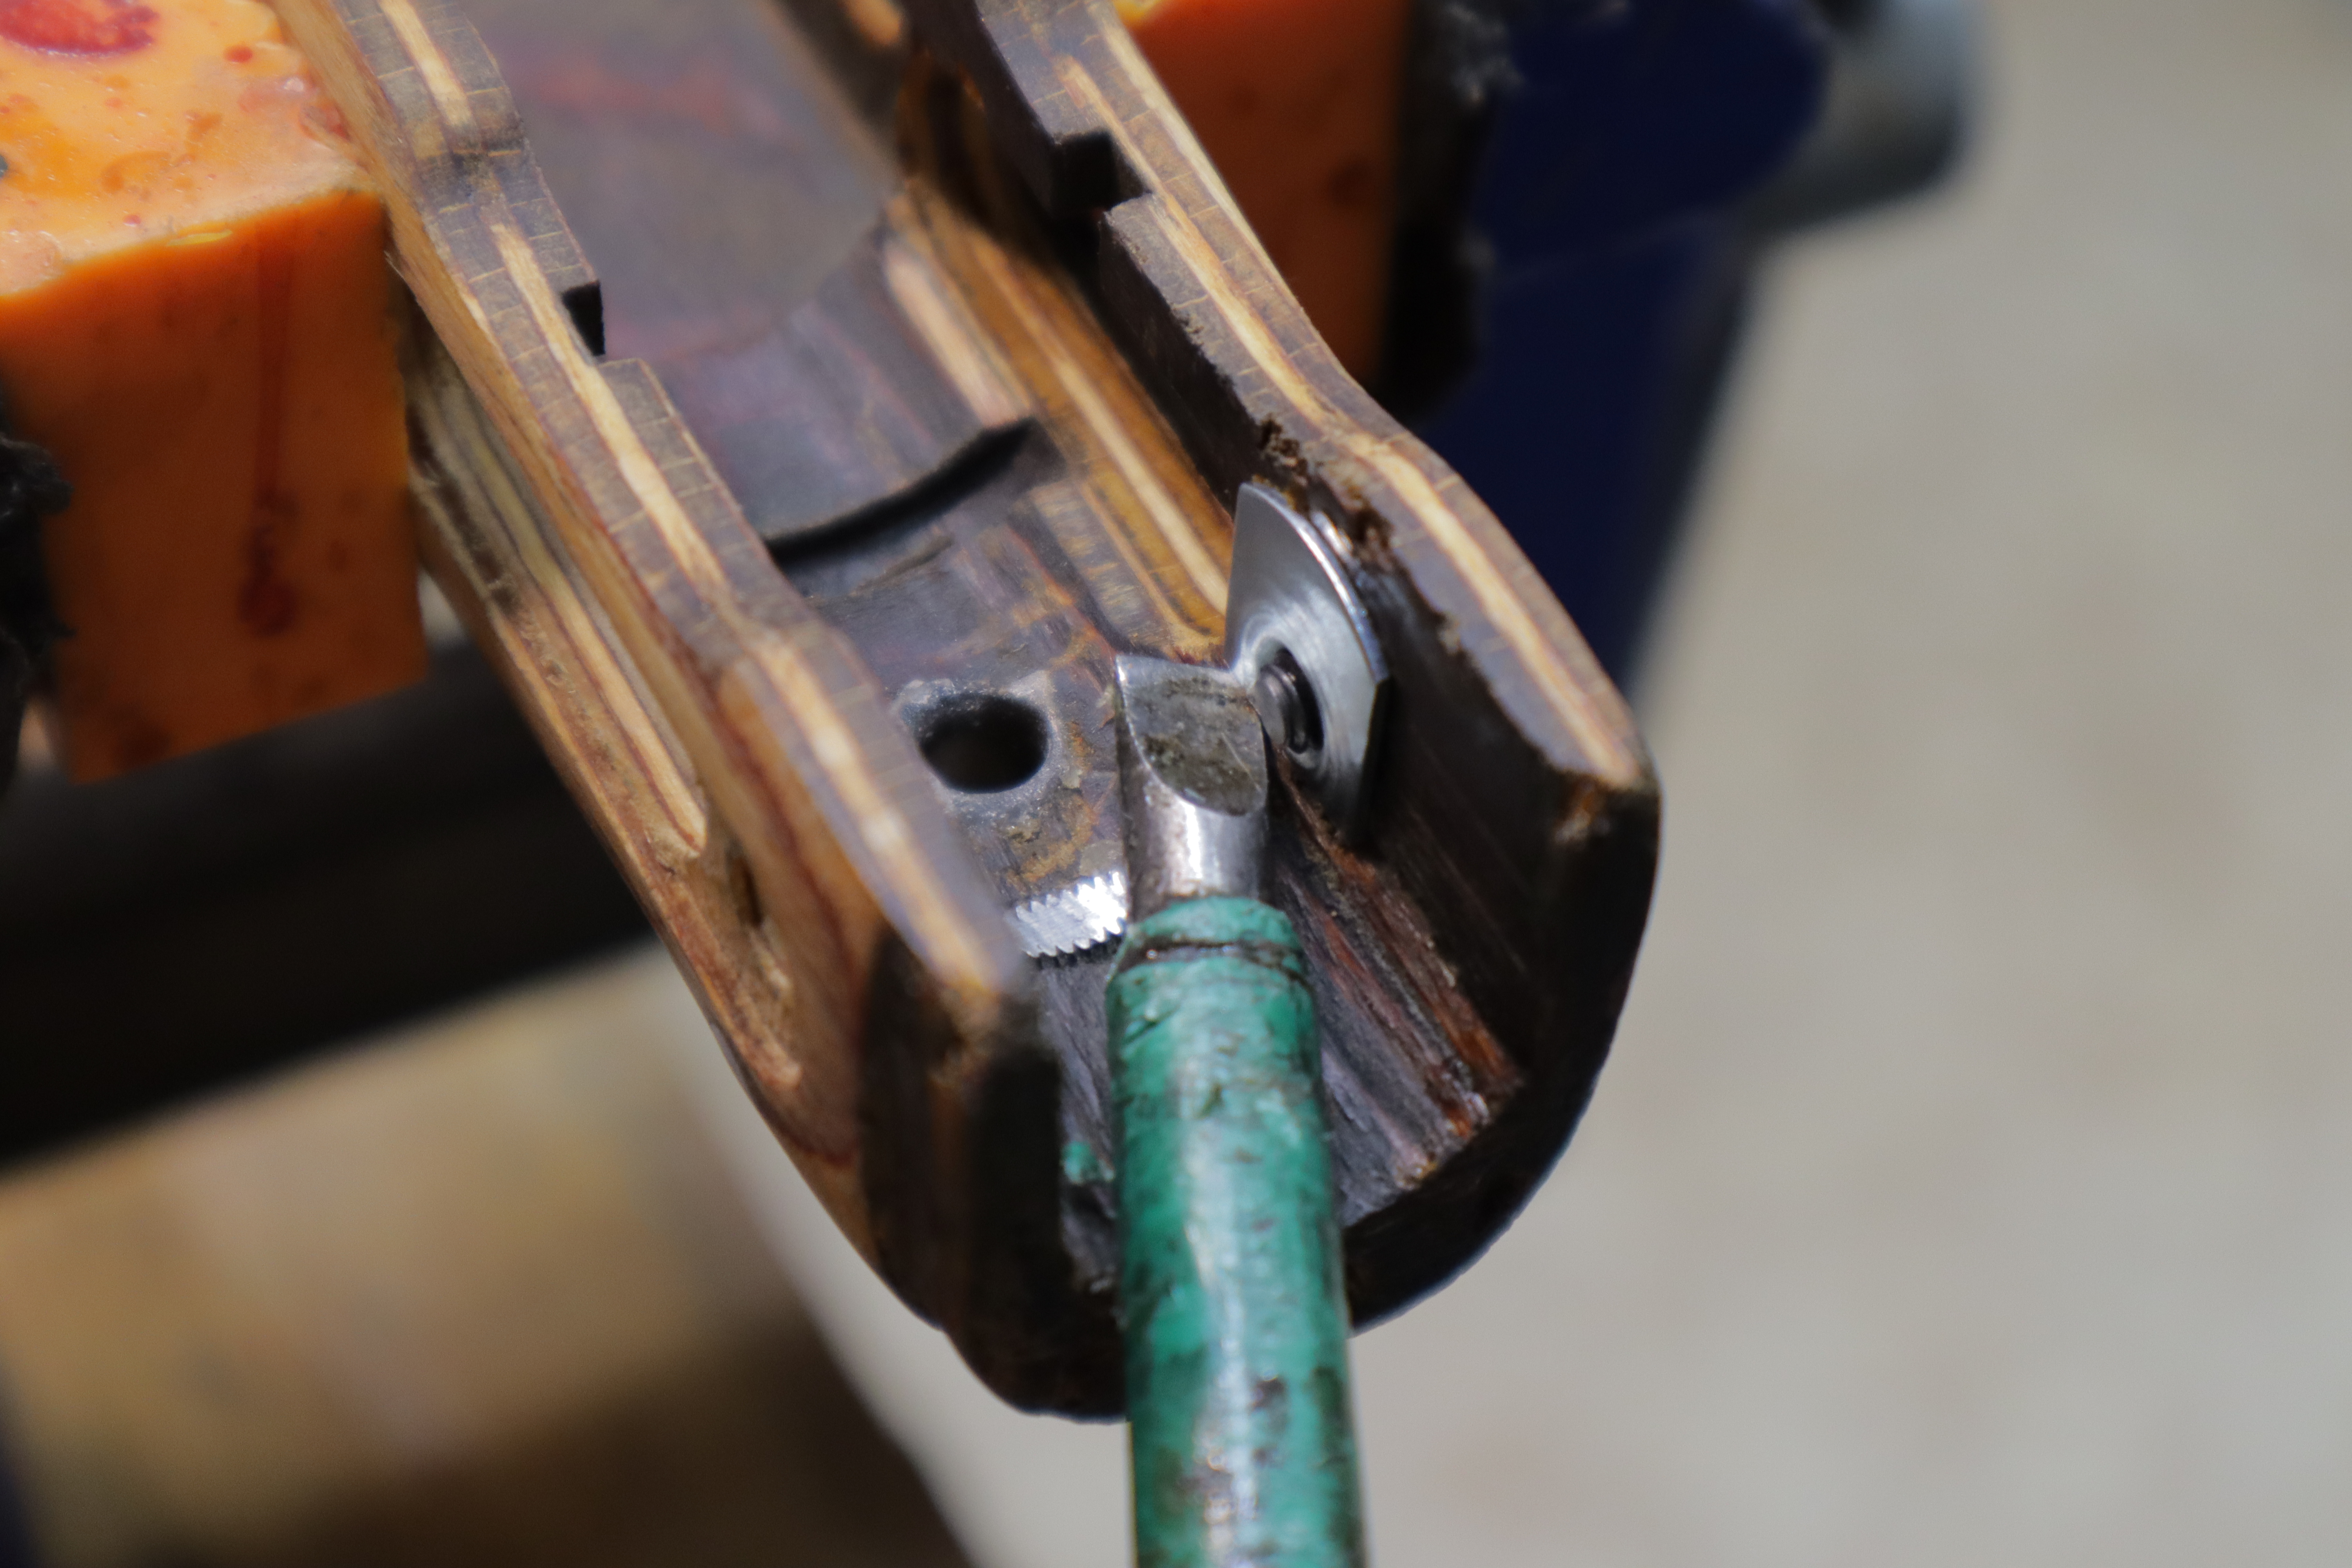
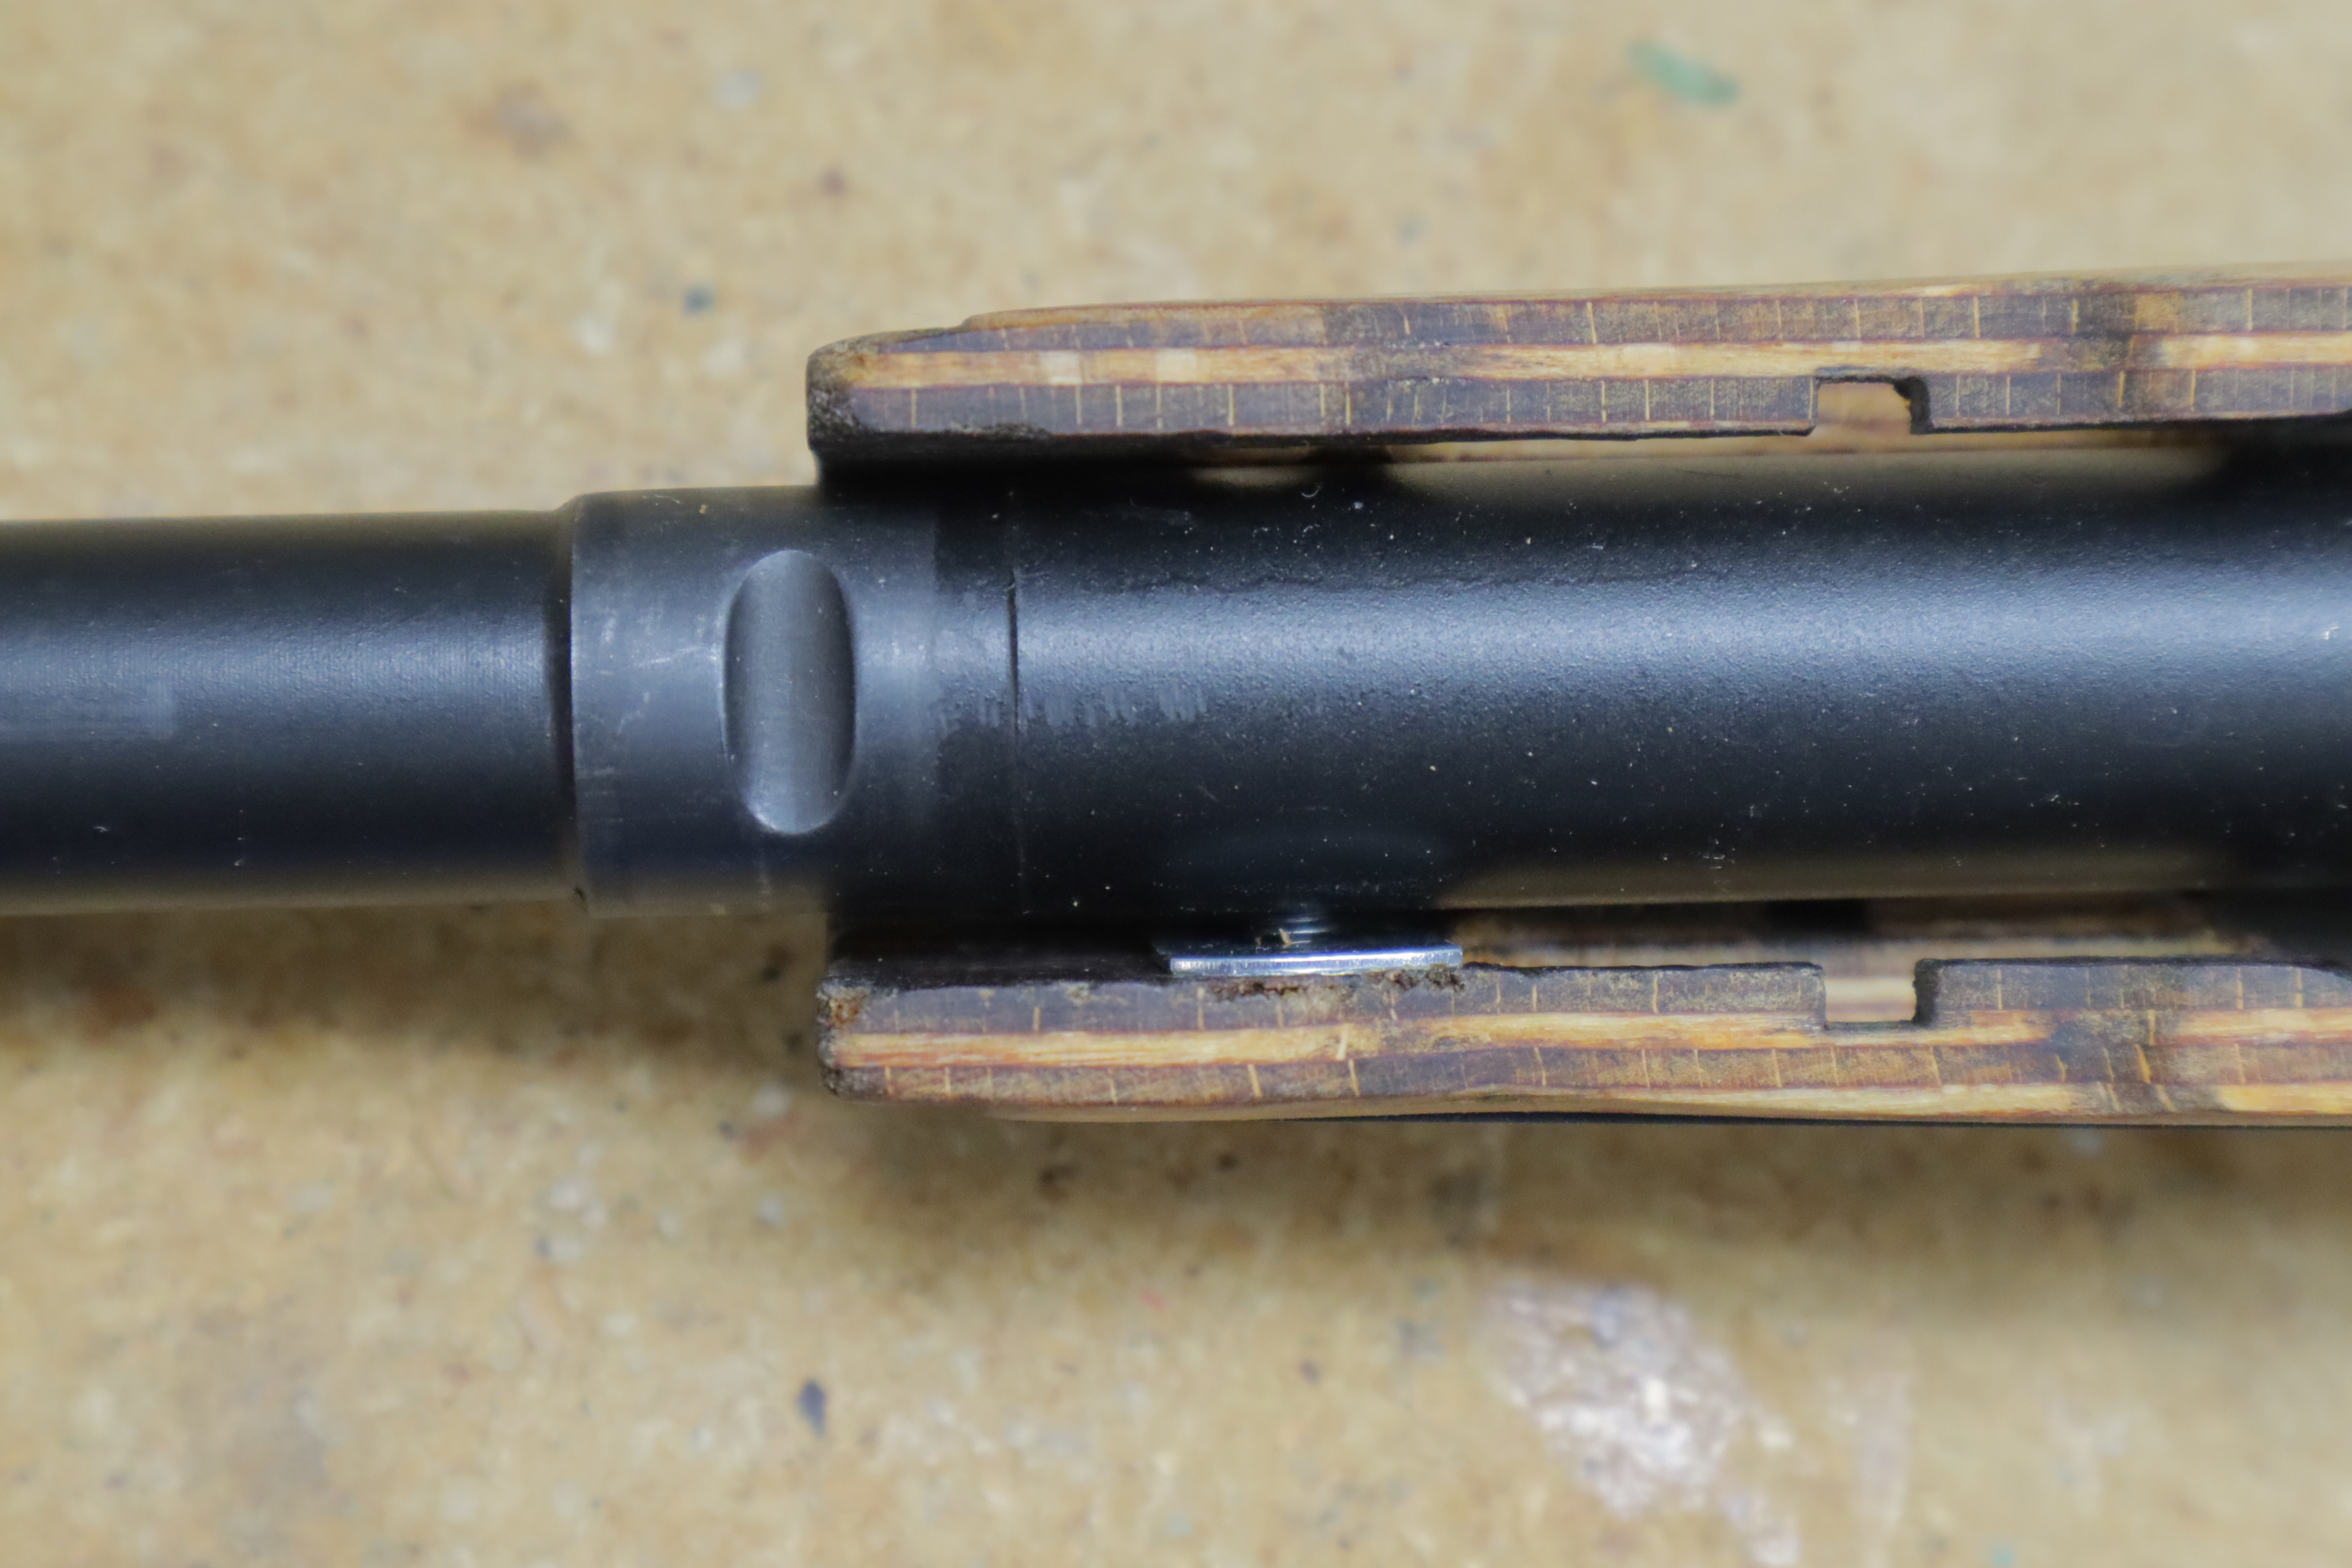
In some instances the screw may protrude too far and interfere with the barrel. Simply use a hand file or Dremel tool to grind down the screw.
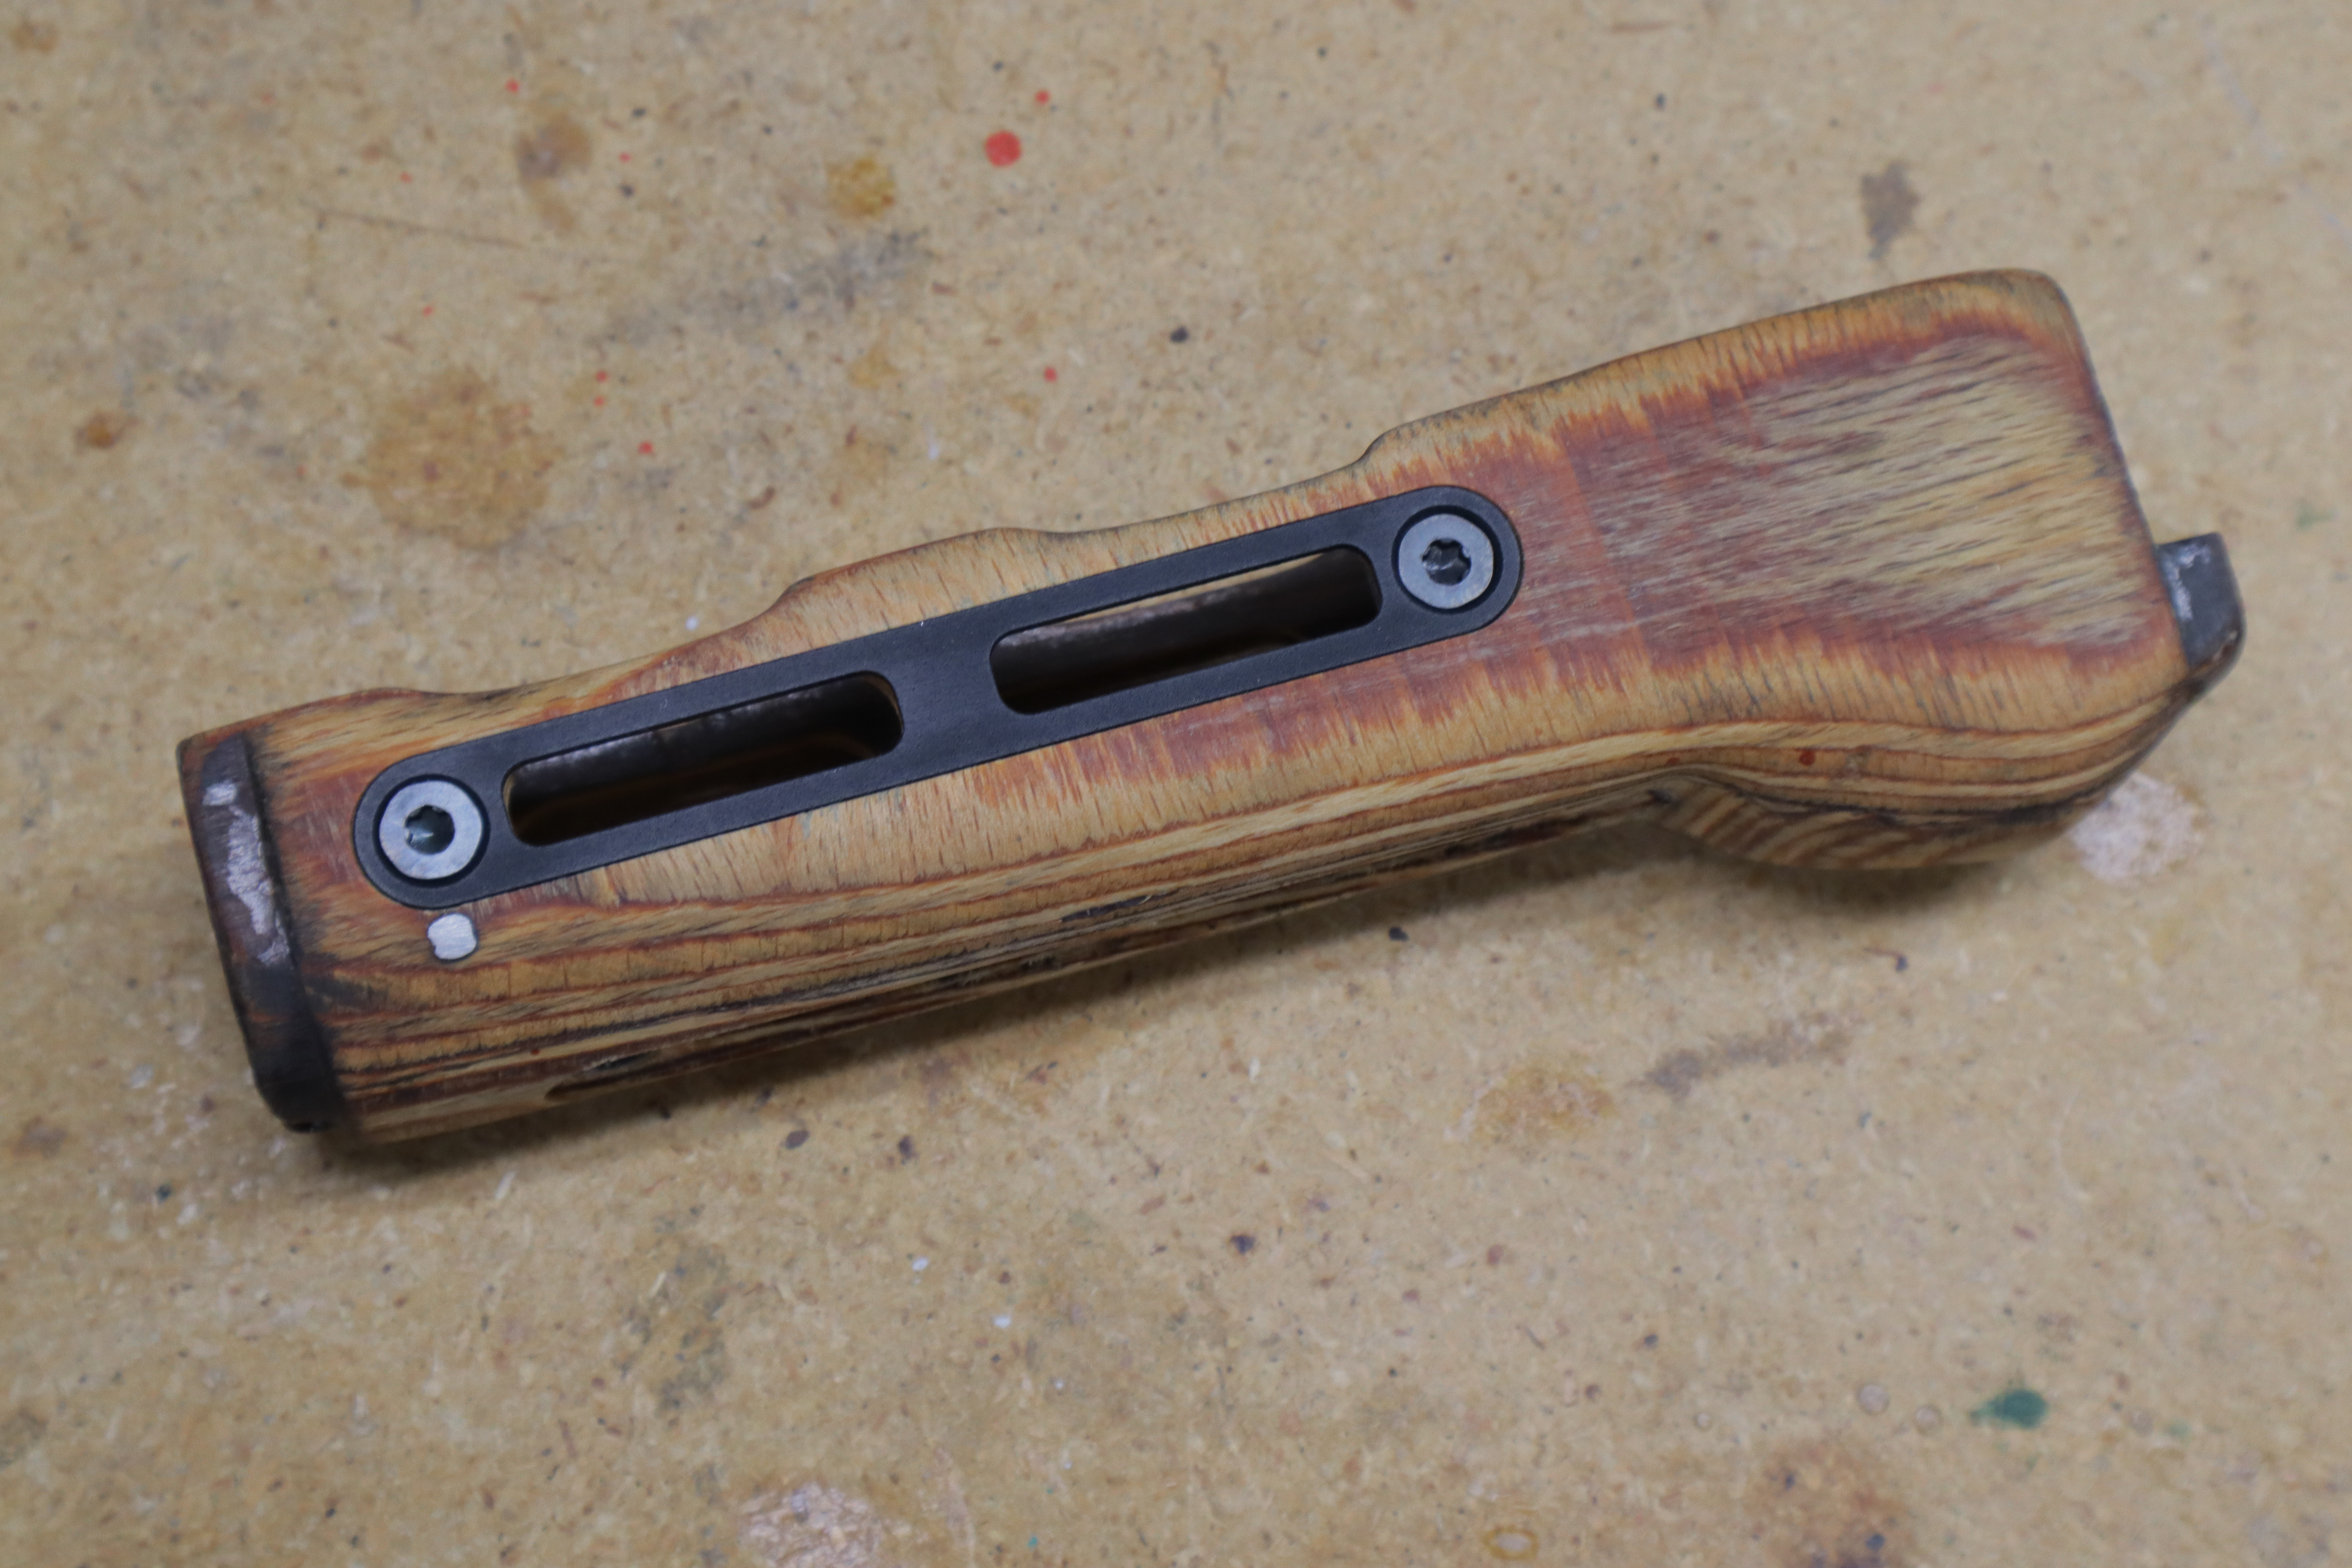
Finished!
We're glad we could guide your successful installation. Our M-LOK panels are a great addition to your handguard.
Please don't hesitate to contact us with any questions!